
When I put the first Slash MT together, I used my LCG all blue Slash and it worked great but the blue was a limiting factor when it came to body color schemes. I wanted to do things a little differently this time around and keep the chassis all black to open up my options when it comes time to switch up the look with a fresh body. This truck is fairly simple with only a few mods separating it from stock. I wanted a considerably wider track while still being able to source replacement parts should I break an arm in the field. I didn’t want to go with a one-off piece that would need to be ordered and that’s where the stock Jato parts come in handy.
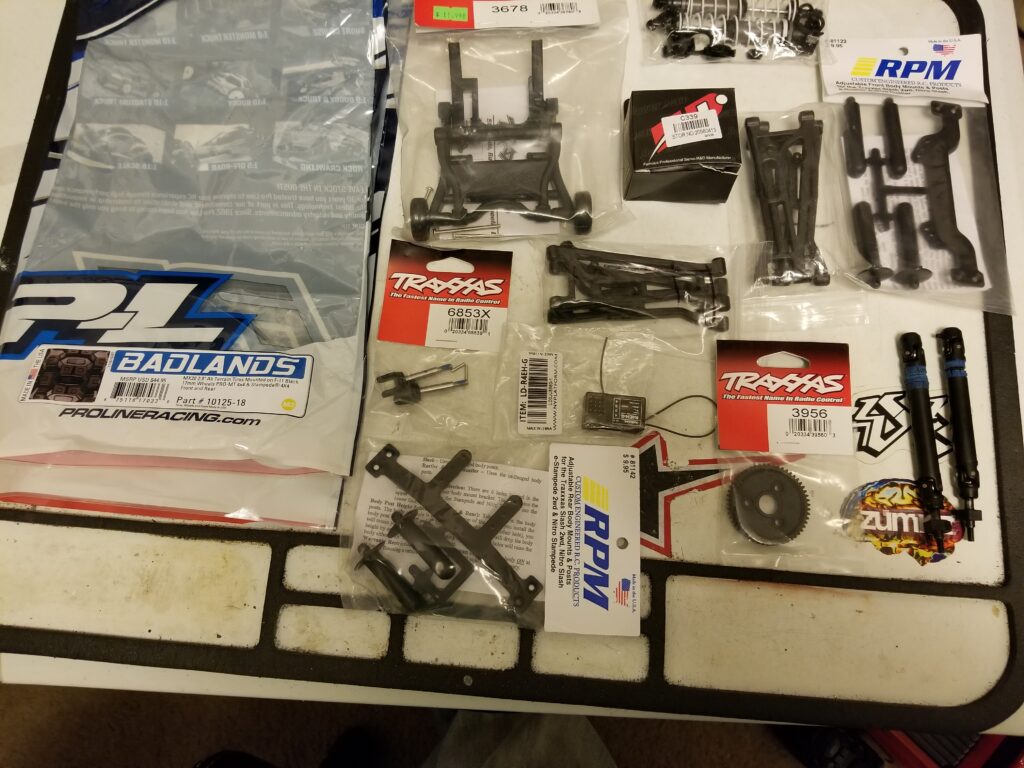
First, an overview of the parts used in this conversion:
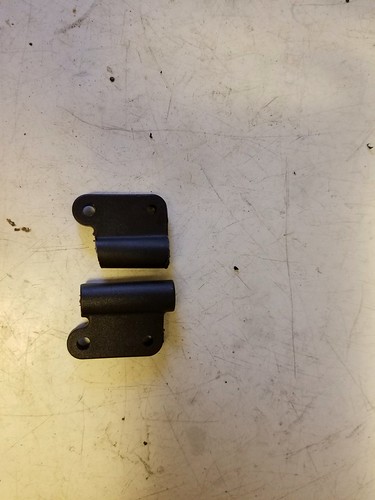
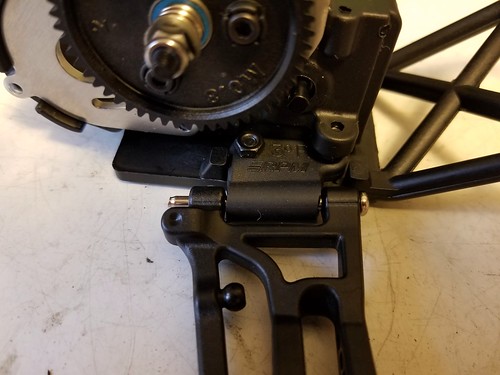
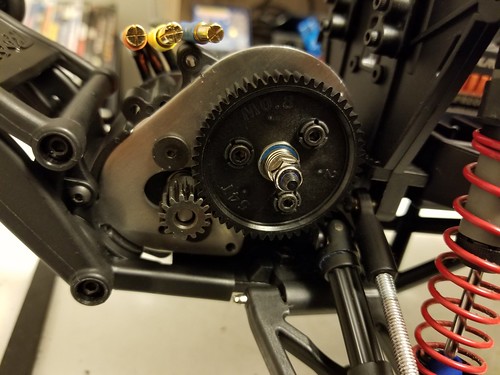
I started out with a HCG roller that came without most of the parts that were going to be replaced anyway. The first change was to switch the stock trans case out for a RPM Hybrid gearbox. This made it easier to mount the Jato arms since I would have two chances to get the trimming of the toe blocks right. I needed to trim these down slightly as the spacing on the Jato arms is a little smaller than the stock Slash arms or the slightly wider Rustler/Stampede units.
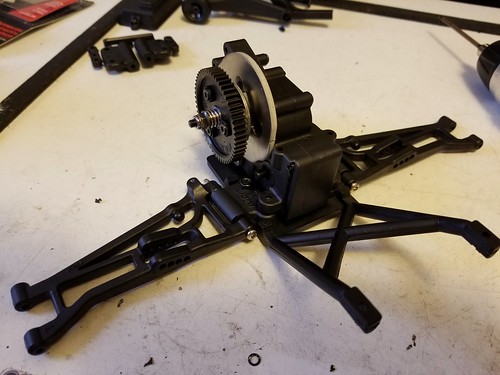
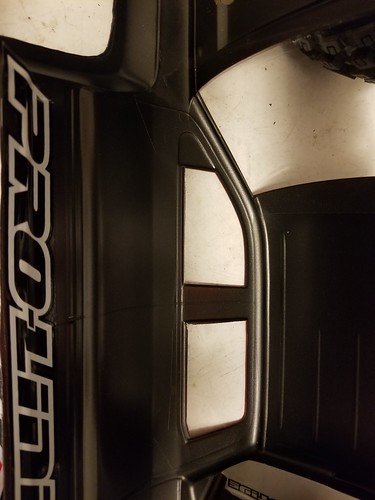
These photos were taken with a second set of front arms that were later
replaced with the correct rears. The fronts don’t allow clearance for
the driveshafts and the shocks are held at an odd angle. The rear arms
solve both of these issues. The Jato arms also need a considerable
amount of trimming in the webbing to allow for driveshaft clearance. If I
had to do it over again I would use an alloy arm to retain some more
structural integrity in this area. I usually don’t like using alloy arms
as they tend to cause other, more difficult to replace, parts to break.
Its easier to replace an arm than a transmission case.
Next up was changing out the stock Slash driveshafts for Jato units. The
Slash shafts are a little short for the length of the arms and
admittedly, the Jato’s are too. They are at their limits when paired
with the Magnum 272 tranny with its narrow diff. I run them on a few
other projects and they are holding up fine but should they give up the
ghost I’ll switch them out for something stronger. The Jato shafts are
paired with Slash 4×4 heavy duty output yokes and stub axles. These
solve the issue of the larger u-joint balls, which would require
drilling the stock parts to the point of compromising their strength, as
the Jato shafts and Slash parts are 100% compatible.

The front arms are a little more involved. The bulkhead needs to be
trimmed slighly to allow the arms to fit without compromising the
strength of the arms. The outer hinge pins need to be changed to the
same units as the rear outer pins and the caster blocks need to be
drilled to fit the larger pins. The arms needs to be clearanced to allow
the caster blocks room to move without binding.
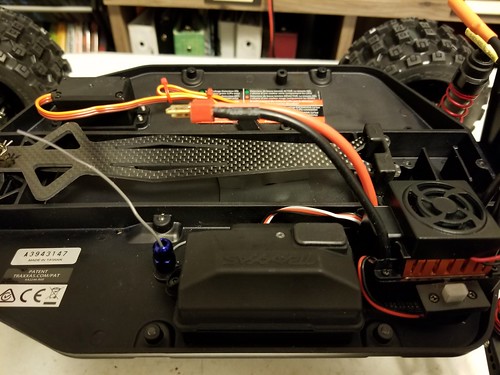
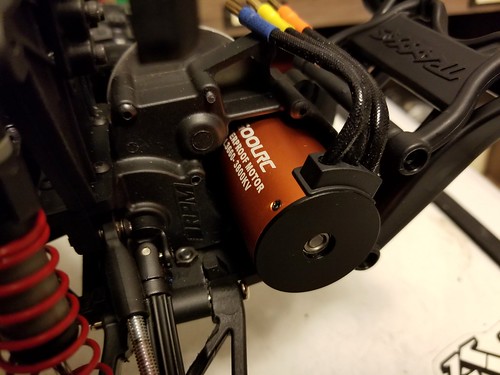
For electronics I am using a PowerHD 1501 MG servo with an alloy horn, a
Radiolink R4EH-G receiver, a GoolRC 60a waterproof ESC, and a 3660
4-pole 3800kv motor. I swapped in a 32p 54t spur from the Jato and
paired that with a 17t 5mm bore pinion.
For the finishing touches I mounted the Pro-line Chevy Silverado body
with a complete set of RPM adjustable body mounts. The 12mm hexes were
shelved in favor of Hot Racing’s splined 17mm hexes and the Pro-line
Badlands MX28’s were slid in place. I chose the widest offset available
for the wheels which is PL’s part number 10125-18. Finally I took a page
out of Arrma’s playbook and lined the sides of body with thick decals
on the inside to prevent the chassis tub from rubbing through the paint.
It works well on the Senton MEGA so I replicated it here.

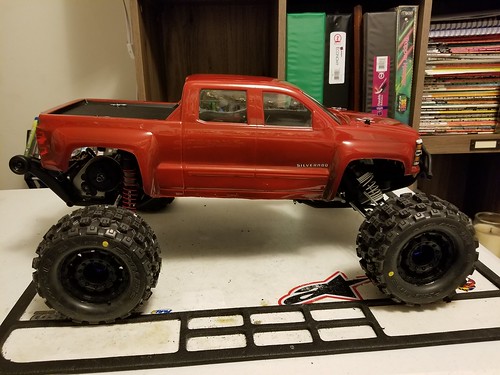
Seeing as I live in West Virginia and it is February the weather is not conducive to running outdoors. I haven’t had a chance to run the truck yet and that is also why all of the shots were taken at my temporary bench in my office. As of this morning we still have 3 inches of ice in the driveway and 8 inches of snow in the yard. As soon as the weather breaks I am going to get the truck out in the dirt and give it a proper shakedown.
UPDATE:
I took the truck out for its first run today and learned a few things.
First of all, I need to go down a few teeth on the pinion as the truck
has a ton of top end but is experiencing some cogging out of the hole.
Second, I have some investigating to do with regard to the receiver.
With the receiver box lid on the ESC works for a second and then goes
100% full throttle with no input from the transmitter. If I press on the
RX box lid at the end opposite to the RX plugs it will come and go but
otherwise, nothing. When I take the lid off everything functions as it
should. My hypothesis so far is that the lid is pinching the wires and
causing something to lose contact, either the signal or power wire, and
that is causing the ESC to go bonkers. I am going to try mounting the RX
with double sided tape instead of the 3m Superlock that I am currently
using (I use the 3m so that I can remove the RX to turn the gyro off and
on as needed or to re-bind the transmitter). That should lower the RX
by several millimeters and hopefully alleviate the problem.
As for the run, the truck jumps and lands like no other that I have
driven. It flies level and lands like a wet rag. The stiffer springs in
the rear work well; I believe anything softer would cause the truck to
squat unnecessarily and would most like slap the rear skid over every
small bump. The truck doesn’t get as much air on the track as my other
trucks. Over the crossover the truck flies low as the suspension absorbs
most of the takeoff and this causes the truck to land a few feet
shorter than I’d like. With my LCG 2wd for instance, the truck pops off
the face of the jump and has enough loft and distance to clear the
entire lane which is around 11 feet at that point. The MT2.0 lands about
a foot inside the lane border which would be a problem if I weren’t
driving alone. I am not going to change any settings as of right now as
this is the only “complaint” that I have so far and this truck wasn’t
built to turn in fast laps at a racetrack.
The truck keeps its composure in the corners despite the immense grip
from the Badlands and the high center of gravity. It turns in
predictably, with neither over- nor understeer and holds it line well. I
was not able to flip the truck at any point throughout its maiden
voyage (which lasted about 25 minutes). I pushed the truck deeper and
deeper into the carousel and it took it in stride. Picking up the
throttle coming out of the corner didn’t lift the front as much as I
expected but rather drifted off line by about six inches (as both ends
lost traction momentarily) and shot toward the next corner.
On grass and uneven surfaces (my yard is nowhere near level) the truck
body remained nearly stationary as the suspension cycled through its
travel. Roots, sticks and rocks didn’t throw the truck off course by
much and the Badlands provided all the grip a person could ever ask for.
I am interested to try these on my Stampede 4×4 next as the 2.8″
Mashers have been doing so well it makes me wonder if these could be
even better.