
The RPM Pit Pro Extreme car stand comes as a kit with simple
instructions and by following those instructions you can have the stand
assembled in about 20 minutes. I pulled my stand out of the bag and took
some notes while assembling it to help others who may also be setting
up their stand for the first time.
Tip one:
Trim the flashing off of the support legs and arms. These nubs will be
sharp and beyond possibly hurting someone they will be an annoyance when
setting up, using and storing your stand.
Tip two:
Use an alcohol prep pad or some denatured alcohol on a clean towel to
prep the surfaces where the self-adhesive pads will go. This will help
them stick as the area is quite small and any contaminants could cause
the pad to lift.
Tip three:
Leave everything somewhat loose until you are ready to set the truck (or
car) on the stand for the first time. This will allow you to set the
stand exactly how you need it for your particular chassis.
Tip four:
Keep an eye out for how tightly you tighten the wing nut. It can be
over-torqued if you are not careful. It only needs enough force to
prevent the truck from leaning once in position. When the truck is held
horizontally it will require less torque but once the truck is placed on
an angle you will need to tighten it slightly to keep the truck in one
position.
Step one:
Unpack everything and take note of what is included.
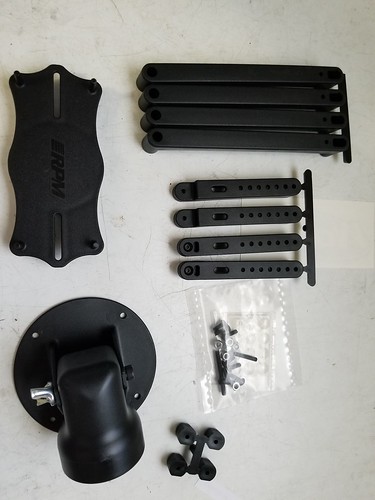
20181210_140820
This is also a good time to trim the flashing off of some of the parts before assembly such as the support legs shown below.
20181210_142556
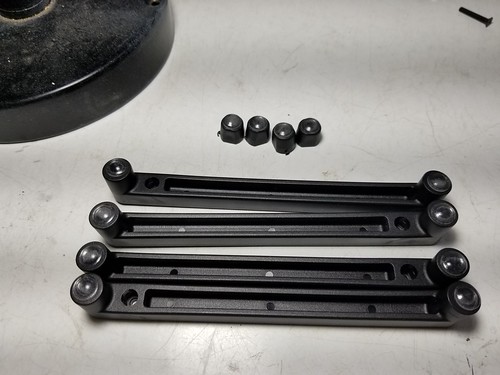
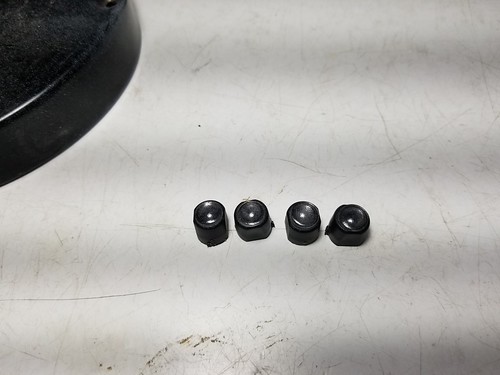
Step two:
Apply the self-adhesive non-slip pads to the support feet (take note of
which side is the bottom of the feet and which is the top) and the upper
arms that support the chassis (these are the black pieces which look
suspiciously like 12mm hexes). These pads are located in the hardware
bag and look like furniture bumpers.
20181210_142110
Step three:
Attach the feet to the center portion of the stand. This is done with
the included button head screws and lock nuts. The lock nuts slot into a
hole in the bottom of the support legs.
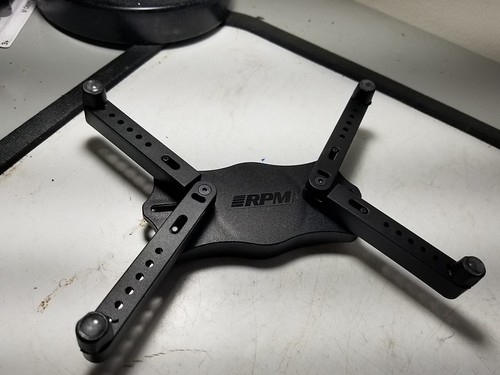
This is what the stand should look like at this point:
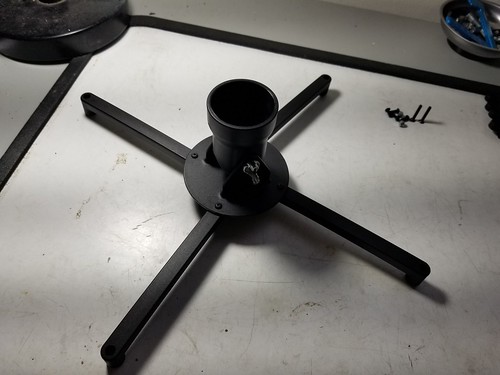
20181210_143334
Step four:
Assemble the upper arms by placing the top arm on top of the bottom to
form an L-shape; there is only one way they will work. The countersunk
screw hole should be on the top. Next place the pads on top of the arms
and secure with the included countersunk screw. Finally insert the
molded-in pegs of the top plate into the slots on the arms and place the
adjuster screw into the adjustment slot with a nut on the back side.
The nut will slide along a track in the underside of the top plate and
this gives you the ability to set the arms in most any position you need
them.
20181210_145033
Step five:
Slide the top portion onto the bottom and set the unit for your chassis. This is how it should look once finished:
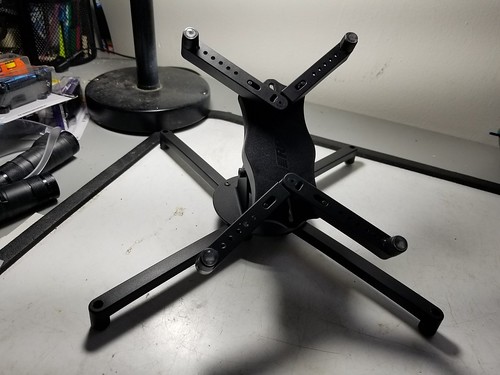
20181210_145116
Once everything is in position for your chassis, tighten everything down
snug but not too tight as to strip something out. The bolt attached to
the wing nut requires a 5/32″ hex to tighten fully but you could also
use a pair of pliers to hold the head still while tightening the wing
nut.
Bonus tip:
If you are using this stand with multiple chassis, mark the upper arms
location with a silver Sharpie for the optimum position for each
chassis. This will allow you to quickly set the arms to the same
position each time. Simply draw a line on the upper arms and a
corresponding line on the upper plate so that you only have to line up
the two marks to set the stand for each chassis.