
My original vision for the 2wd Slash based Sprint Car build (link here) was to use as many concepts and principles form the full scale world of dirt oval racing as I could. This idea came about after I was halfway through converting another project to use Jato suspension arms and I saw that those could be used to offset the chassis to the left. This lead to the creation of the first prototype in April 2014. Building upon that initial idea I had tried different suspension settings on each side of the car and even went as far as cutting an offset chassis to move the battery as far left as possible. This all worked as expected and the car performed extremely well. The last piece of the puzzle was to find a taller right rear tire to add a little bit of stagger to the car. This portion of the build was never completed on the prototype before moving on to the V2 car that exists today.
For starters, let’s define stagger. Tire stagger is defined, in the traditional sense, as “the difference in circumference between the right side tires and left side tires on the same end of the car.” This difference in size causes the right side tire to travel farther with each revolution, thus causing the car to accelerate in an arc to the left. It should be noted that this only works if the diff is locked, otherwise the diff will bias to the smaller tire as it is easier to turn.
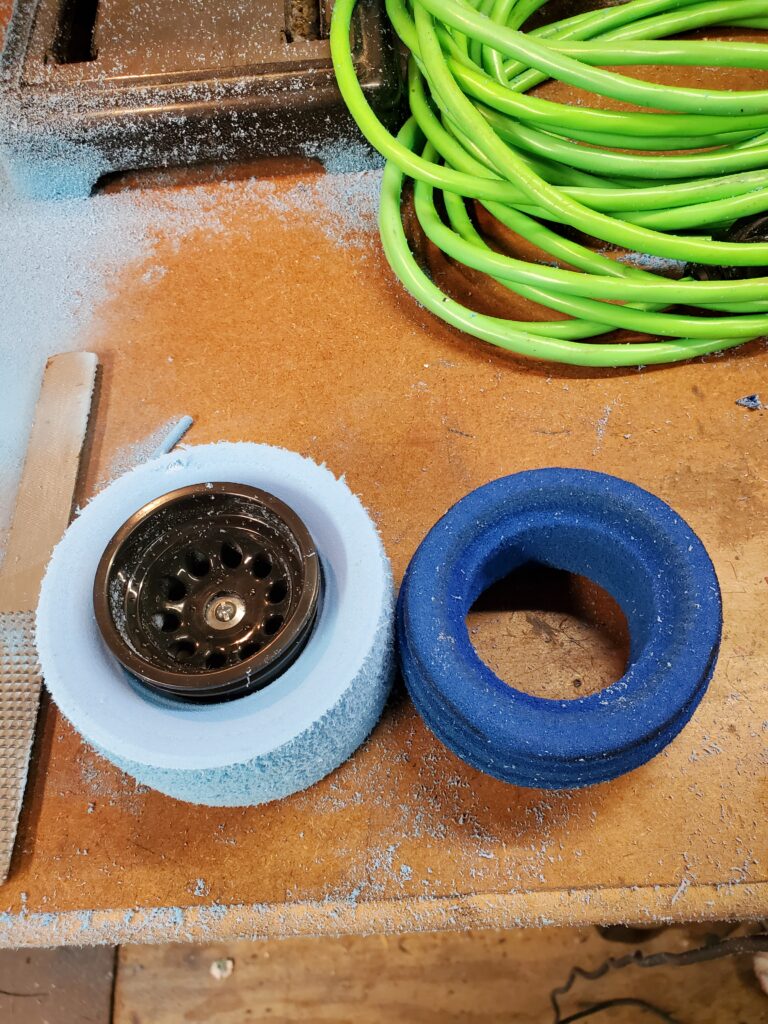
The V2 sprint car uses Pro-Line Hoosier Chain Link T 2.2″ tires, measuring in at 3.99″ tall (or a circumference of 12.53″). Inside the tires are firm, molded, closed-cell inserts that give the tire its shape but those inserts are a little short for the project at hand. My choice was to use a taller foam to stretch the tire’s height slightly as the soft M3 compound of the tire has some give, allowing the tire’s shape to be changed slightly. I chose Pro-Line’s 2.2″ closed-cell single stage crawler inserts that are designed for 2.2 class XL tires (6175-00). These inserts are quite tall and will not fit inside the small 2,2″ stadium tires without some modification.
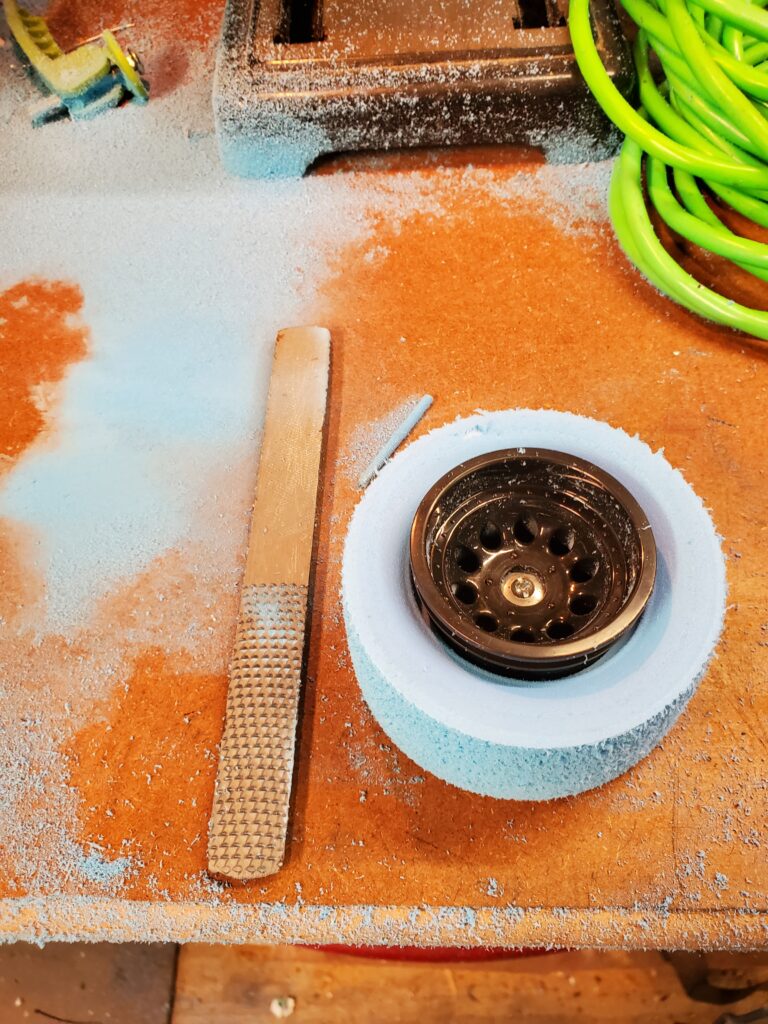
To begin, I hot glued the foam to the wheel to keep it stationary while I trimmed it. I secured a long screw through the wheel and secured it with washers and a lock nut and used this to chuck the wheel into my drill press. I then used a coarse round-nose file to shape the foam, not only for size (which took a bit of work to remove that much material) but also to match the shape of the tire’s carcass. I ended up trimming the foam down to .300″ larger than stock as this was about as far as the tire could stretch.
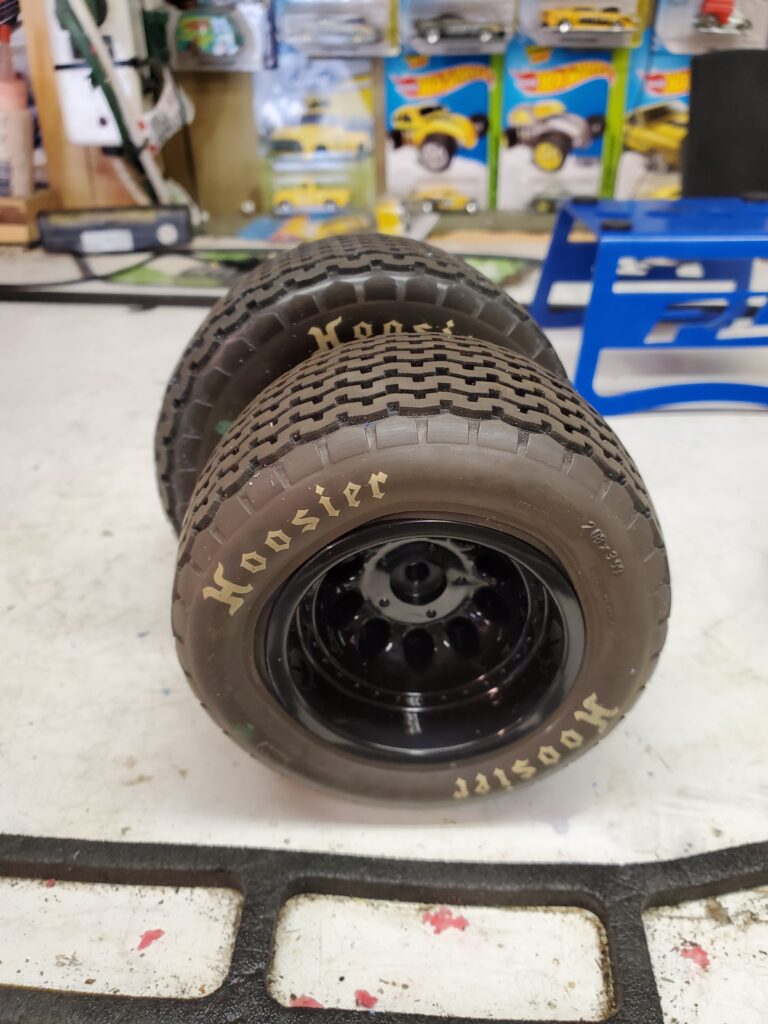
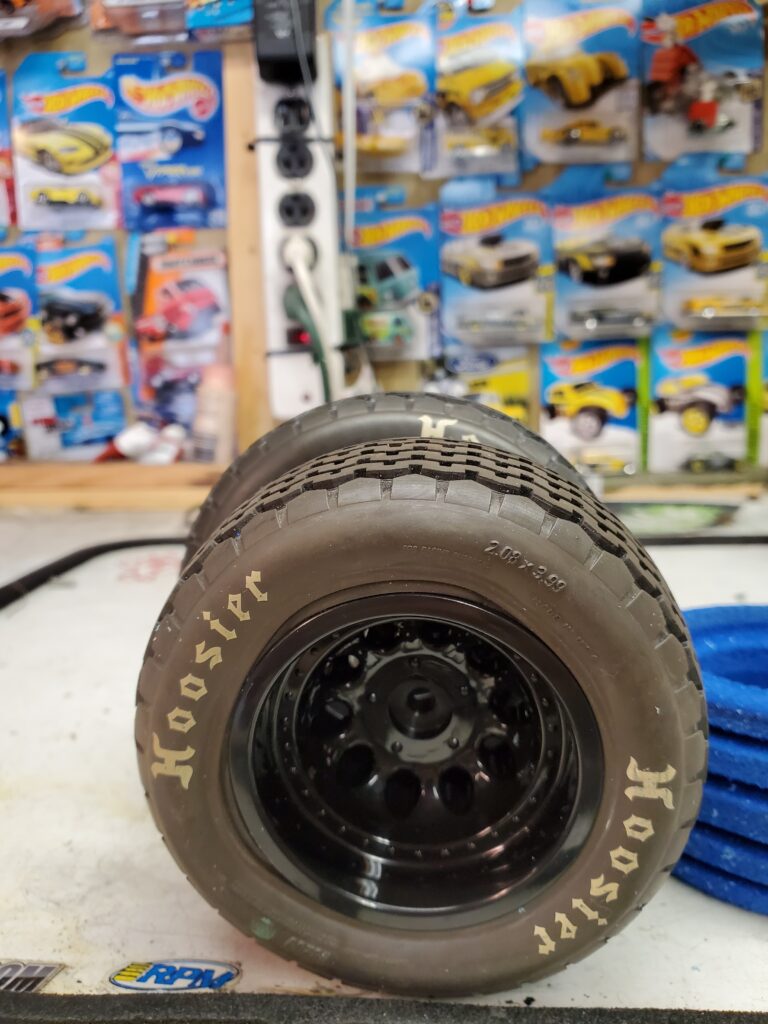
Once the foam was trimmed I removed it from the wheel and cleaned up any residual hot glue from the wheel’s bead and inner portion of the foam. From there it was a simple task to stuff the larger foam into the tire and glue it up as normal. When finished the tire measures 4.25″ tall (a 12.5% increase over stock) and that brings the overall circumference to 13.35″. This difference mean that the right tire travels .82″ farther for each revolution. Admittedly this is nowhere near as much stagger as a real World of Outlaws Sprint Car which can have as much as 11″ to 20″ of stagger in the right rear tire, depending on track conditions. This much stagger is not needed in our scaled down race cars though, that would be the equivalent of running a 3.99″ left side tire and a 5.187″ right rear tire. The next photo shows the difference between the stock tire height and the new staggered right rear:
In the limited testing I’ve been able to do the tires work quite well. Each stab of the throttle immediately skews the chassis to the left. Smooth throttle inputs arc the car around the corner with less steering input needed and that was the goal all along. If there were a taller option for the right rear that would match the Chain Link T the effect would be accentuated even more. I will be doing more extensive testing once the track opens back up but I have high hopes that they will work even better on dirt.