
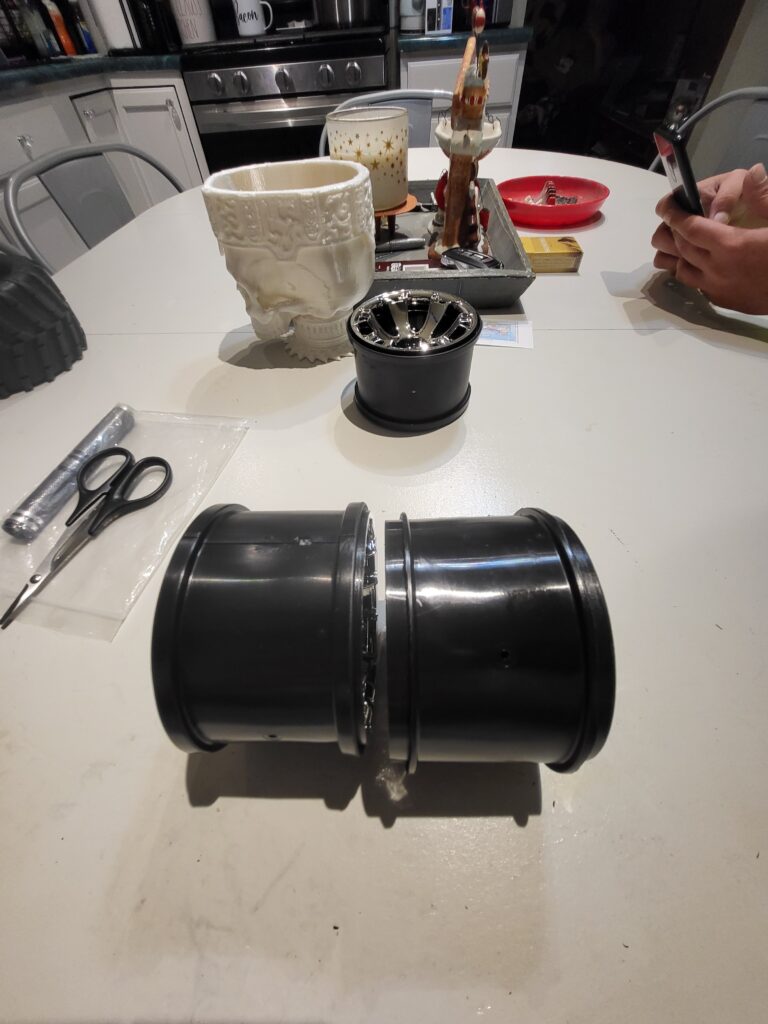
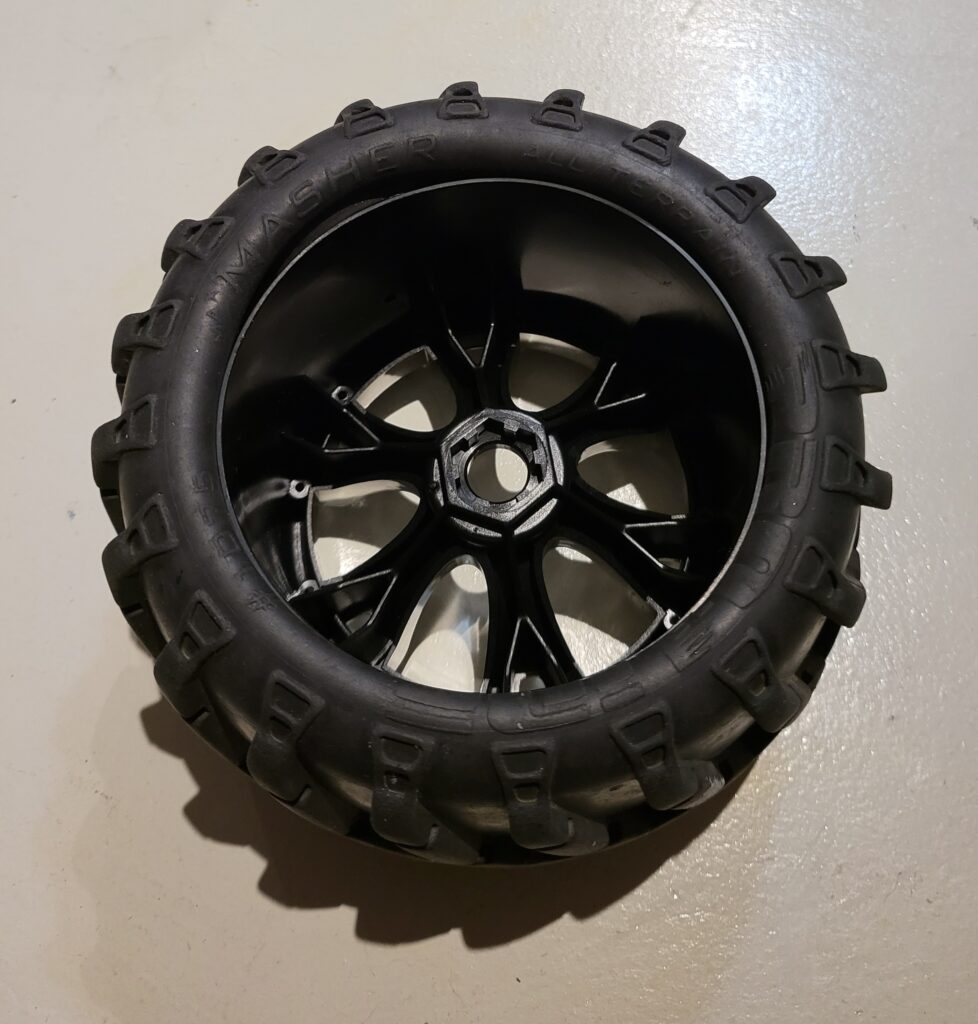
First of all, let’s be honest with ourselves: there are not many options for 3.2″ MT wheels with 17mm hexes out there anymore. For anyone that has read our How-To: Mount 2.8″ Tires Onto 3.2″ Wheels article you’ll remember that we used RPM Revolver StableMaxx 3.2″ 17mm hex wheels. In a perfect world I would have used those wheels but sadly they have since been discontinued and there was only 1 pair available on Ebay when I started this project. Enter the 3.8″ Traxxas Geode wheel, famously found on the Summit, in all of its chrome plated glory. This wheel features a 1/8th style horizontal bead that is initially not compatible with the old-school Pro-Line Maxx Masher’s. Here’s how to mate the two in a few simple steps.
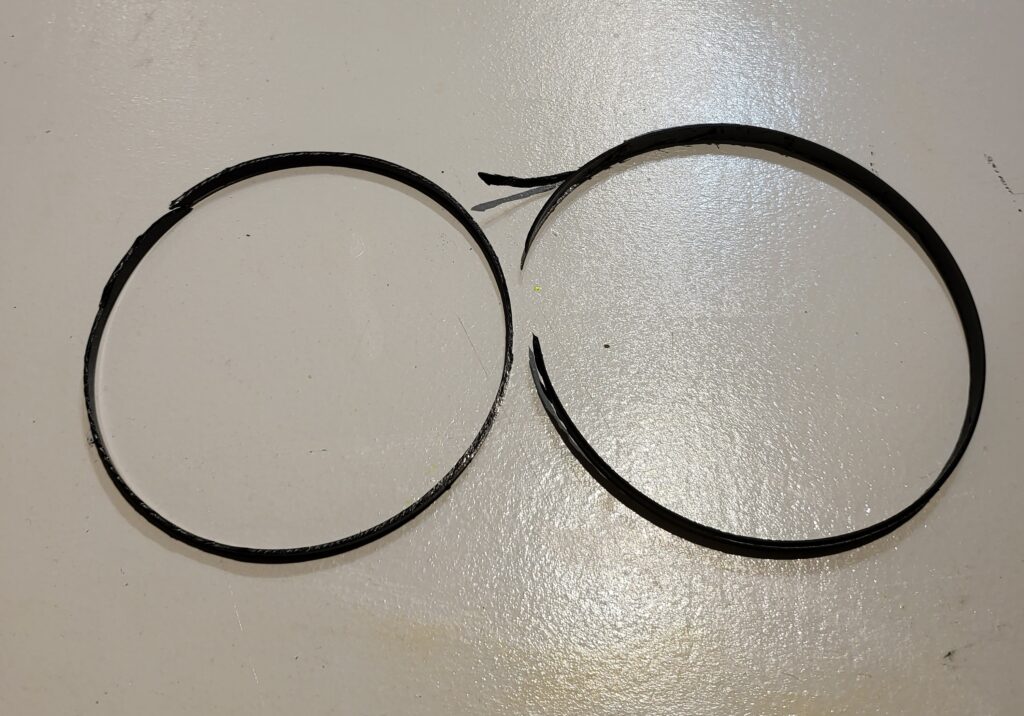
STEP 1: Mark and cut the beads.
The inner and outer beads need to be trimmed flush with their vertical portions. This section is roughly 1/4″ deep and can be cut with Lexan scissors (this is how I did mine). Alternatively, one could use a rotary tool to expedite the process or use a hobby knife to score and tear the plastic. Do this for the front and rear bead of the wheel.
STEP 2: Clean the bead surface
This is just a good habit whether you are modifying your wheels or not. Clean the beads of any mold release residue or oils that transfer from your fingers. Doing so will ensure the strongest bond possible between the tire and wheel. I didn’t take any pictures for this step because wiping the bead with an alcohol prep wipe is pretty boring and self-explanatory.
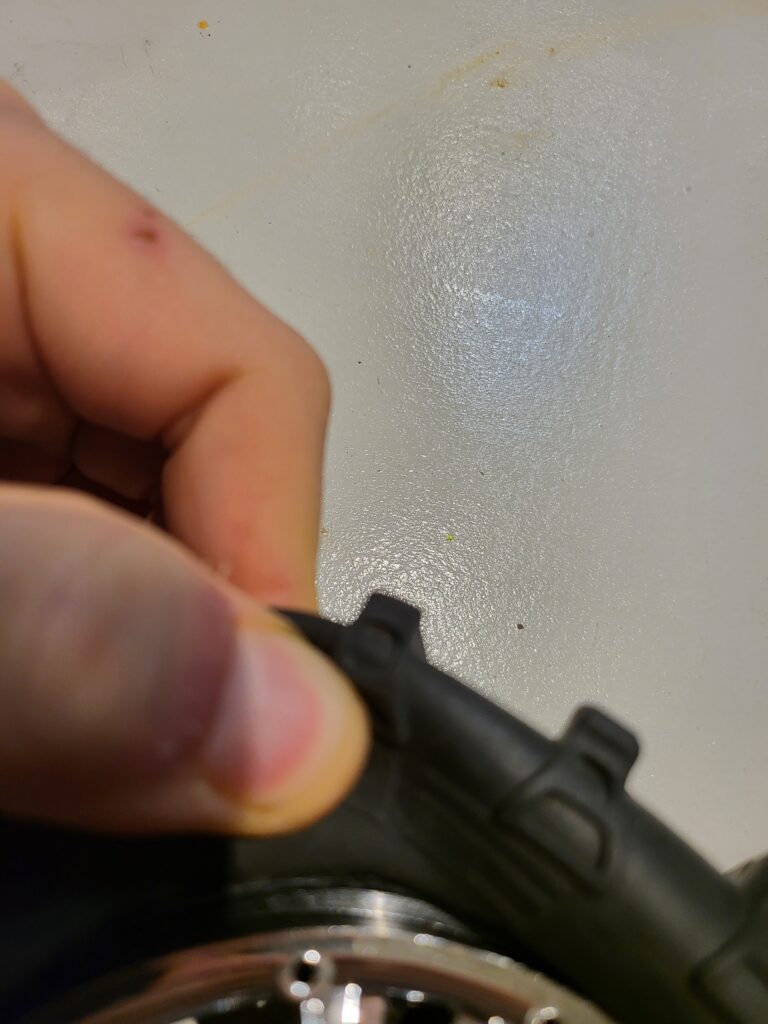
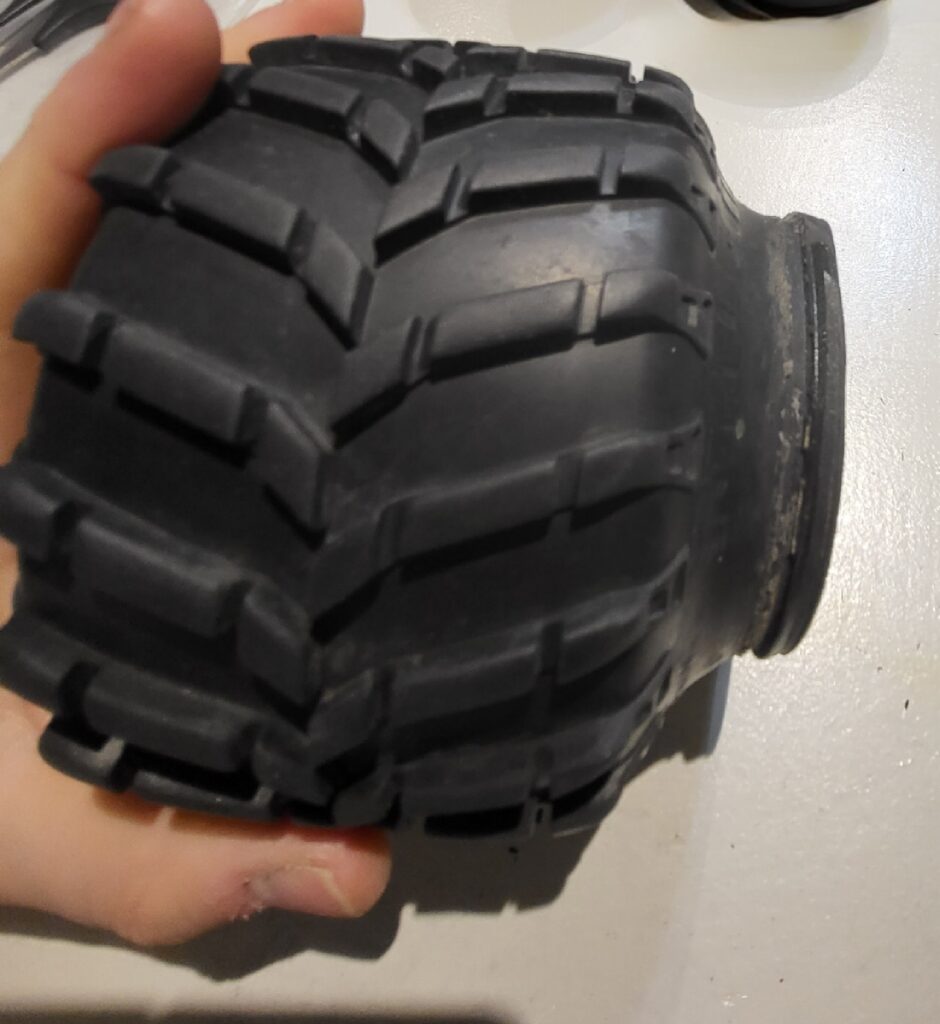
STEP 3: Wrestle the tire onto the wheel.
This step is much easier if your tires are warm and pliable. I sat each tire over a vent in my house for a few hours to let them get warm and stretchy before trying to slide them onto the wheels. Stretch the tire over both beads so that the wheel is completely inside the tire. From there, work one bead at a time against the vertical wall that was left in step one.

Step 4: Glue all four front beads, let sit, glue all four rear beads and admire your work!
At this point it is just a matter of gluing the tires to the wheels. Pull back a small section of the tire bead and place a drop of glue then work the bead around until the glue no longer flows. At this point place another drop of CA and repeat until the tire is completely glued to the wheel. Let the tire sit for a while until the glue sets and then repeat this process until the rear bead is completely adhered as well. Lather, rinse, repeat!
FINAL THOUGHTS
In retrospect I could have used a new Masher 3.8″ tire and saved myself about an hour of work. The problem lies when looking at the vehicle it is going on, realizing that the 3.8″ tire is too tall and too wide for the scale of the truck. This tire was designed for the truck I am using it on and therefore doesn’t look out of place while also not straining the drivetrain as much. I needed the 17mm wheel hexes to cope with the 4s power system I will be upgrading to and this wheel/tire combo checks all of the boxes for my particular needs. Alternatively I could have cut the bead of the tire similar to how I did in our 2.8″ How To but I wanted to show a different method that still allows the 3.2″ tire to be used on a 3.2″ wheel should I ever desire to do so. This tire is fairly rare and expensive nowadays and stretching it this way retains its original shape and integrity; problem solved.