Back in the spring of 2010 I started looking for my first scaler. I had built a Wheely King into a formidable crawler but it looked too much like a comp crawler and I wanted to something more “real”. I narrowed my search to the Axial Trail Honcho as I love the round body Toyota trucks from the mid-to-late 90’s and that was what the Honcho was based upon. I called every hobby shop within 5 hours and came up empty handed. What I did find though was a Dingo RTR for a really good price.
The brand new kit included a 27mHz radio, Pro-Line Flat Iron 1.9’s, Axial’s 8-hole beadlocks, an unsealed radio box and the first gen Axial ESC (that wasn’t lipo compatible and didn’t have drag brake!). I still remember plugging the battery into the truck for the first time and trying to crawl over a parking curb in the lot of the hobby shop. Even with those small tires the truck went right up it with no issues. I drove the truck over a decorative tree planter for an entire pack; I was hooked! I took the truck to a bunch of trails, all over Southern West Virginia, and ran more than 500 packs through it, completely stock, and had a blast doing so. This was what the truck looked like after the first 18 months of running:
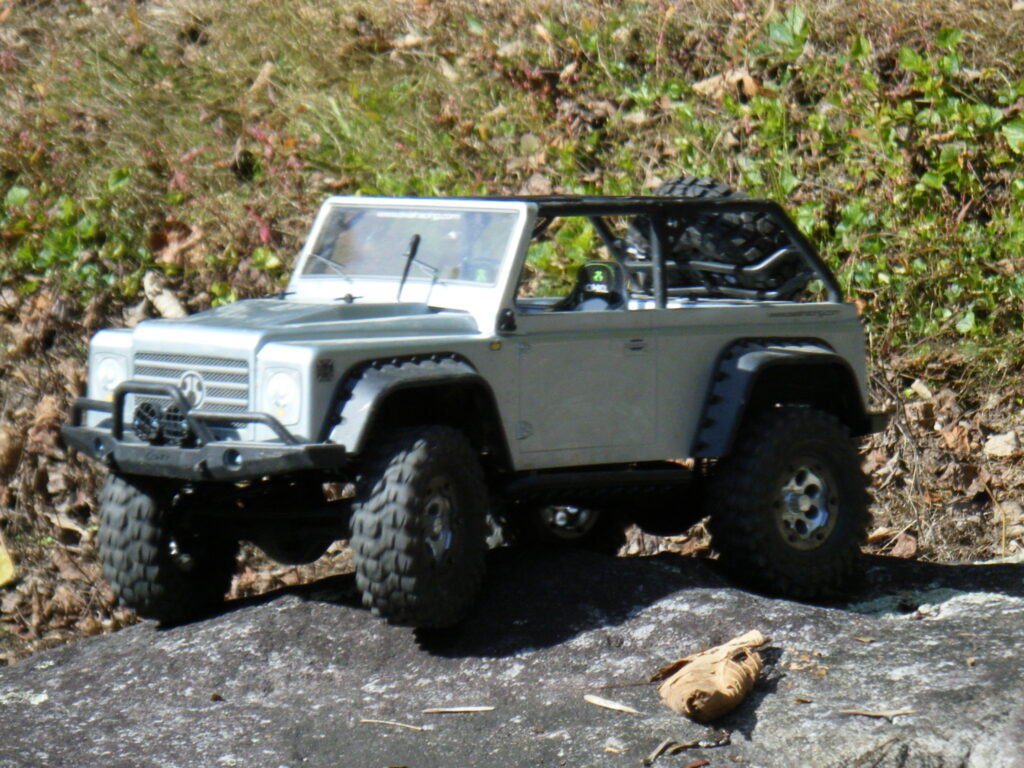
The truck held up great stock, with the exception of a PIAA light cover that fell off the front bumper withing the first 10 packs or so. I consider that a testament to the trucks durability! The stock motor ran cool, the ESC didn’t have so much as a hiccup, and the transmission was whisper quiet. I have to say, even stock, the truck was impressive.
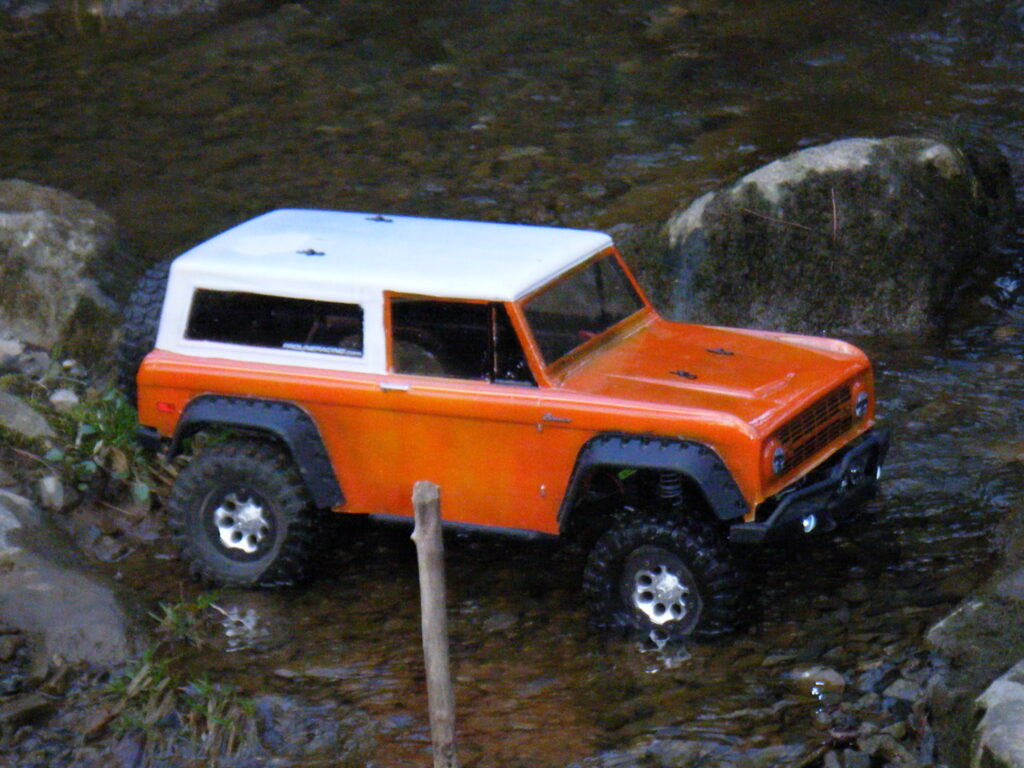
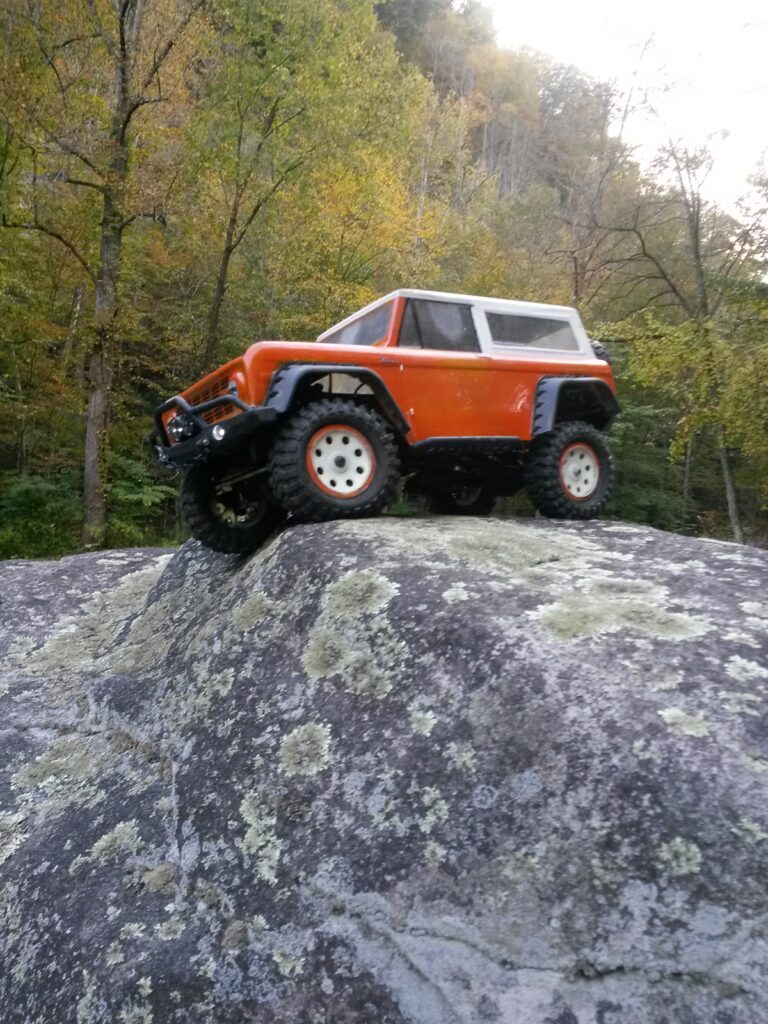
Come Christmas time of 2011 my wife got me a Pro-Line 1973 Bronco body to use on the truck as she knew how much I loved early Bronco’s (my grandfather had one back in the late 70’s). The Dingo kit included the required tall SUV style rear body mounts to use different bodies so that was swapped in. The wheelbase of the Dingo is 11.4″ (or 290mm) and the wheelbase of the Bronco is 12.3″ (or 313mm) so longer links needed to be fabricated. Unlike most, I didn’t split the stretch in wheelbase between the front and rear and instead chose to add the length to the rear only. This placed more of the weight of the chassis on the front wheels for improved climbing. The rear lower links were replaced with custom length units, sleeved in carbon fiber, and new upper links (built the same manner) along with a new axle mount to accept the triangulated 4-link setup were added. This kept the axle centered while also allowing for some extra adjustability in the rear suspension.
Once the suspension was sorted the body was trimmed and mounted. The Bronco is slightly narrower at the fenders than I would like so I removed the flares from the stock Dingo body and bolted them to the Bronco (a direct fit, by the way). This allowed the fenders to completely cover the tires and really added to the look. I also took this opportunity to move the battery tray to the front, using stock parts, and also switched the battery connector to a Deans plug to match all of my new batteries. At this point, the truck looked exactly how I had envisioned.
We took the truck to many of the same locations that we had before and a few new ones. One of my favorite outings was to a Civil War Historic Battlefield, Droop Mountain.I got the chance to run the truck on some of the footpaths and hiking trails there and getting those shots was a real treat.
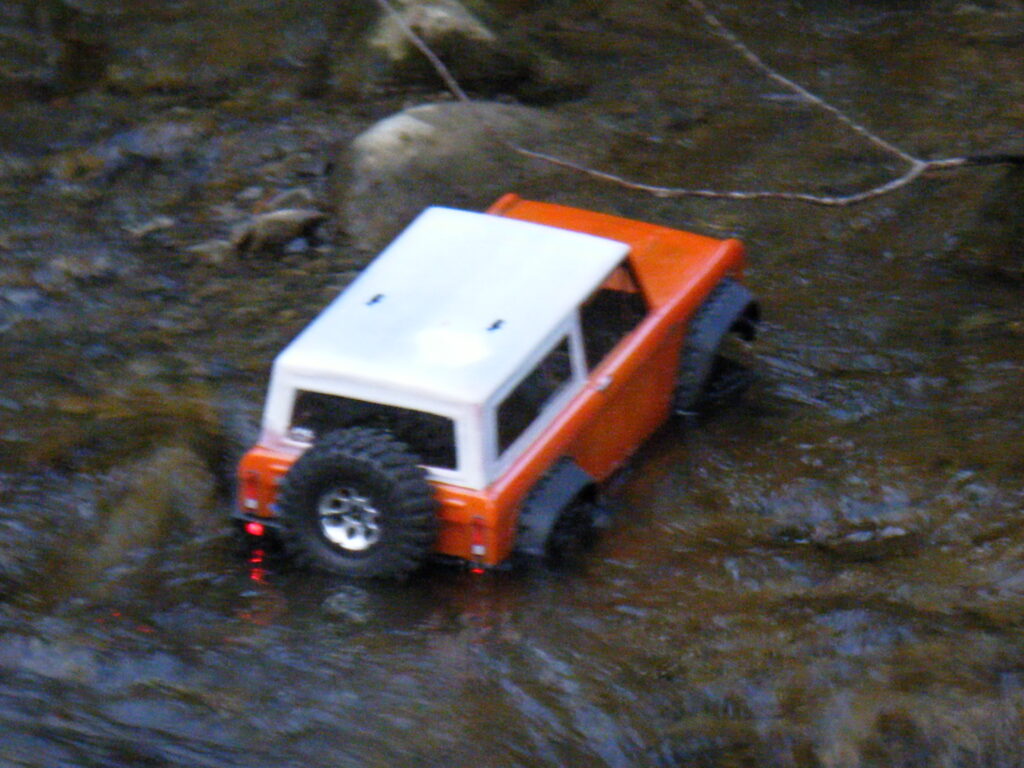
While traveling with the truck was fun, I got the most enjoyment from running at a part near my home, Little Beaver State Park. My favorite area to crawl was between the parking lot and the restrooms. There was a creek bed that run under a bridge and provided the perfect location to spend an afternoon and a few batteries. The following shots were taken there:
It was after this outing that I decided to submit the truck to a few RC publications for their “Readers Rides” section. I didn’t hold out much hope as the truck was 90% stock but I was proud of it and wanted to share it with the world. I selected a few shots from the Little Beaver outing and submitted them along with a build list.
I was perusing the magazine rack at Wal-Mart one day and saw a copy of Xtreme RC Cars. We don’t normally get that publication in our area so I thumbed through it while waiting on the Mrs. and, lo and behold, there was my truck in print! I nearly dropped the magazine I was so surprised. I bought that issue and proceeded to pick up an extra copy to frame for my office. This picture hangs next to my desk to this day:
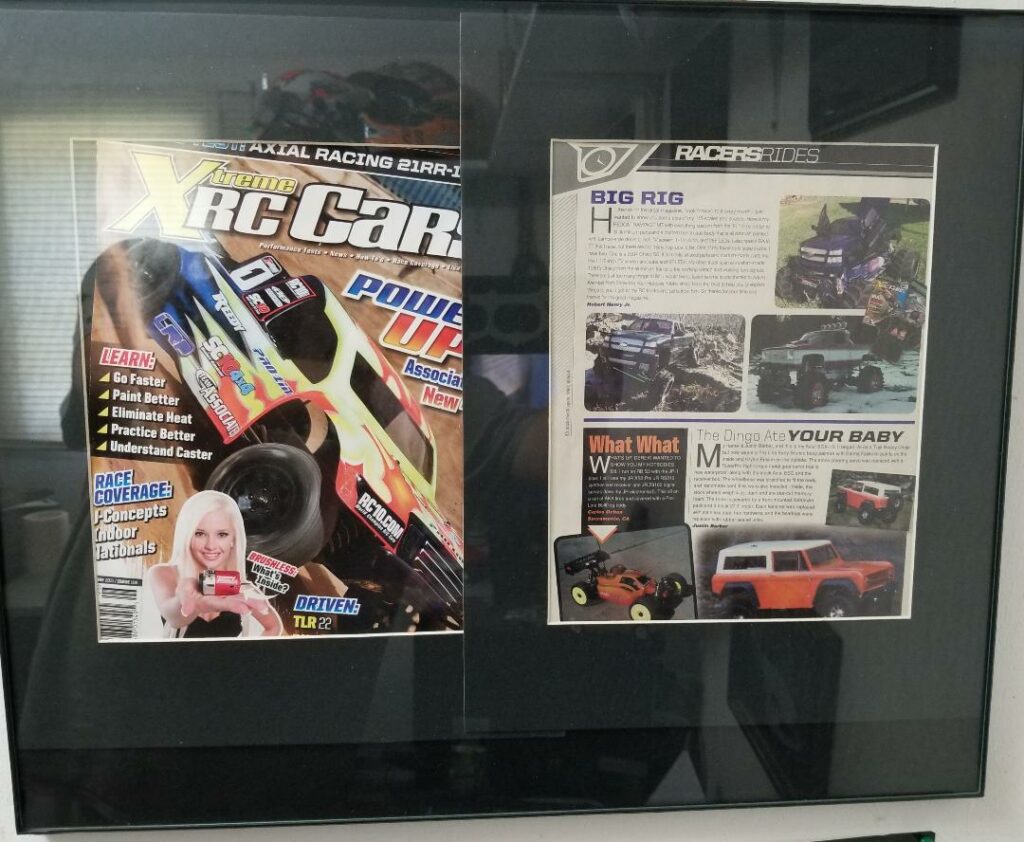
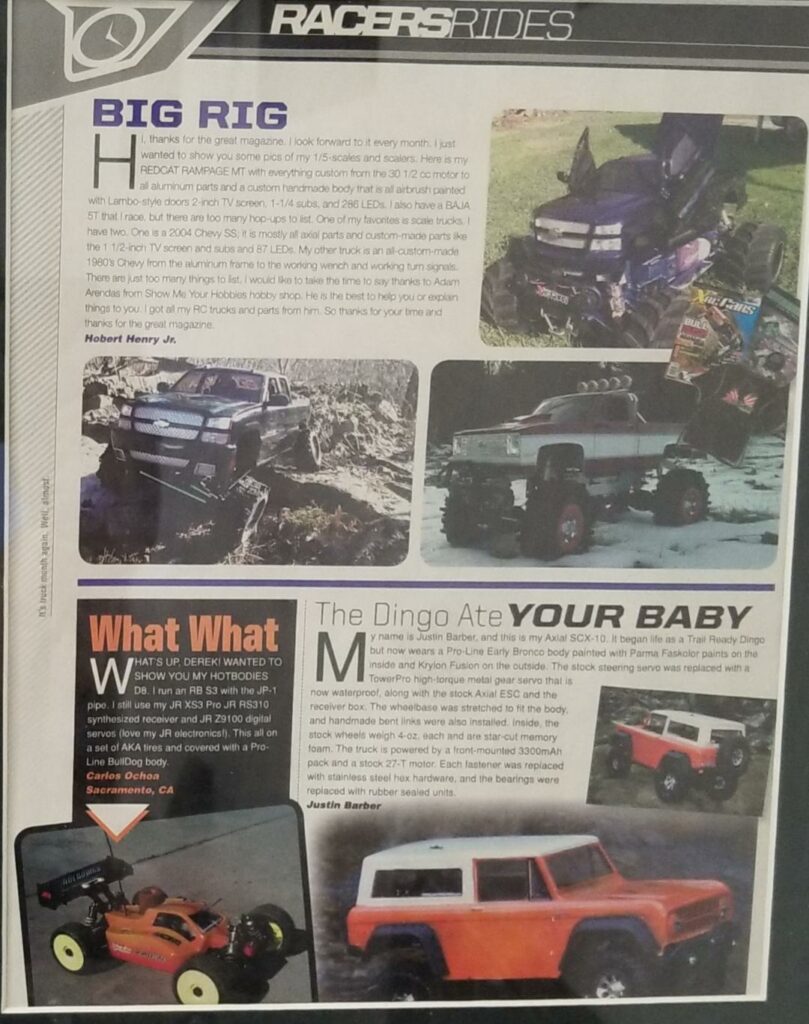
That was the June 2011 issue of XRC and since then the truck has received a few minor updates. I replaced the stock servo with a metal gear unit and aluminum servo horn, the factory unsealed receiver box was shelved in favor of a sealed unit from Traxxas, the factory radio was swapped out for a FlySky GT3B, the stock ESC was replaced with an Axial AE-2 (with Lipo cutoff and drag brake), a Castle Creations 10a BEC was added, the stock transmission gears were swapped out for machined units with pinned outputs, the pinion shaft in the diffs were swapped for pinned units and the rear bumper was swapped out for a swing-away unit from Axial’s Jeep Rubicon. I drove the truck this way the better part of a year with no issues. The truck crawled better than ever and I never had to worry about parts breaking while out on the trail…
That is until my first trail run with someone else. This truck hadn’t broken a single stock part since I bought it and had survived some fairly nasty tumbles over the years. When we got to the trailhead I lined up for the first rock and the truck didn’t want to move forward in a straight line. I thought one of the front tires was stuck on a rock or the axle was high centered but upon closer inspection I knew that something was wrong. The left front tire had a massive amount of negative camber and the tire was stuffed into the fender. The c-hub had broken in half allowing the inner axle shaft to pierce the tire, causing the hangup on the rock. This happened less than five feet into the run. At least it made for a good picture.
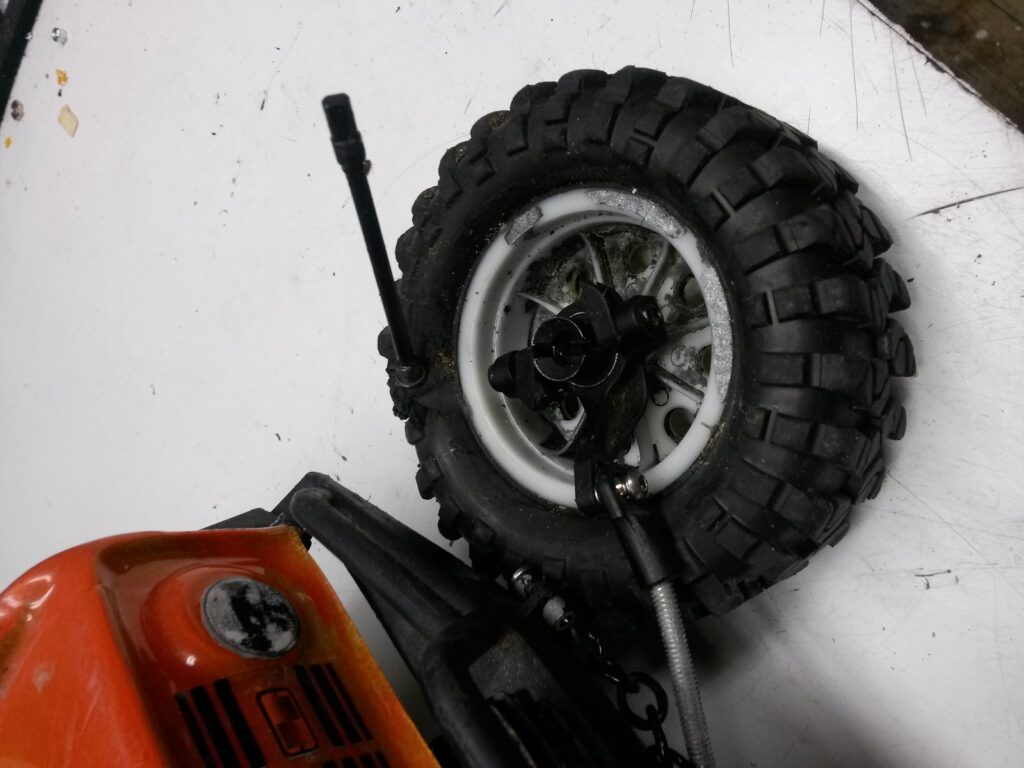
After replacing the broken c-hub with an aluminum one (I think it was a de-anodized Axial part, if I’m not mistaken) I didn’t have any more issues.
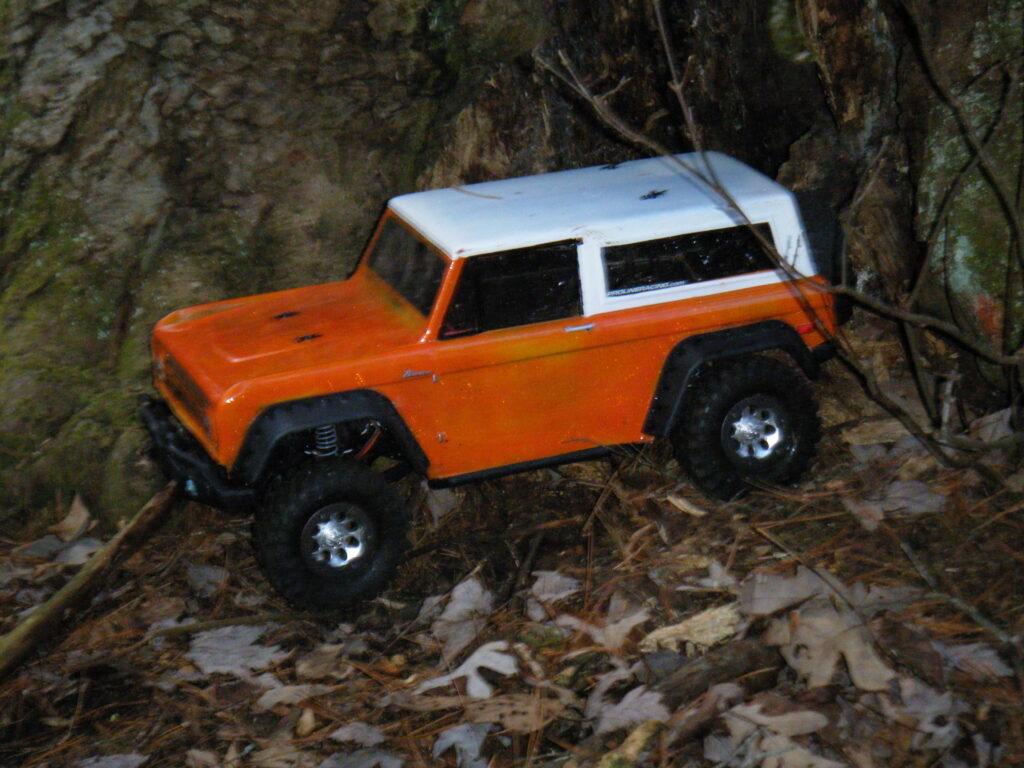
I switched out the stock 8 hole beadlocks for a set of narrowed Traxxas Stampede wheels. These wheels are 2.2″ in diameter and stretch the sidewall slightly for a more contemporary appearance. I initially painted the wheels a metallic gray but later went back to white with an orange trim ring.
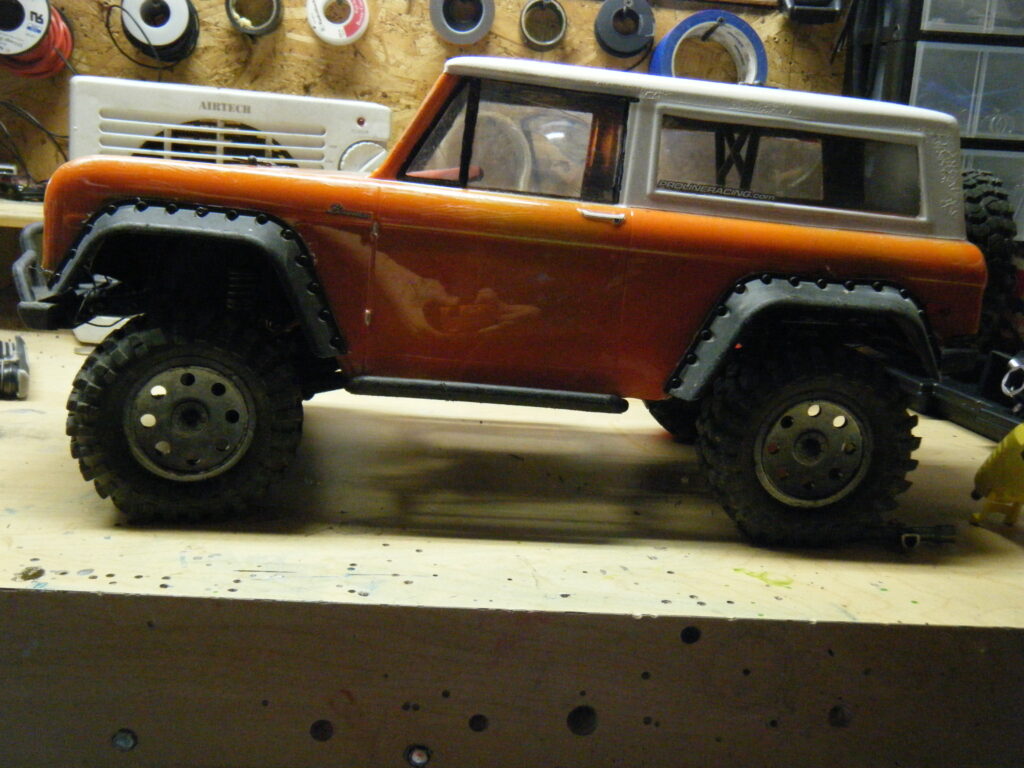
And later in white:
That is how the truck sits to this day. Future plans include some new parts to transform the truck into something that I have always wanted to build. I have a new LED light kit for it as well as some new chassis parts. After the next iteration is complete it will be back on the trails for more adventures!
MAJOR UPDATE!
Buster has been rocking the same Pro-Line 1973 Bronco (3313-60) since Christmas 2010. The stock Axial Dingo flares fit the lines of the body pretty well and allow the tires to be completely covered for a more “street legal” appearance and over the years the truck received several different rear bumpers to match the body. Initially the truck had its spare screwed directly to the tailgate in a stock location with a stock Dingo bumper. After that I fashioned a swing out tire carrier out of aluminum that functioned quite well but looked a little “hack-y”. Once the Axial CRC Jeep came out with its swing-out tire carrier bumper I knew I wanted one for Buster and ended up with two of them (the first had a manufacturing defect that Axial wanted to make right for me. They didn’t have to do this and I greatly appreciate their help.) That bumper looked the part but didn’t perform as well as it did on the original truck since the tire carrier couldn’t snap onto the cage for the upper mount like it was designed to do in the Jeep. This meant it flopped around and didn’t hold up well on the trails, but looked really good in static shots. Buster was looking pretty rough and it was time for a refresh. Once again, I turned to the great folks at Pro-Line Racing for a compliment of new parts that would not only change the look of the truck but also take it to a new level of performance at the same time.
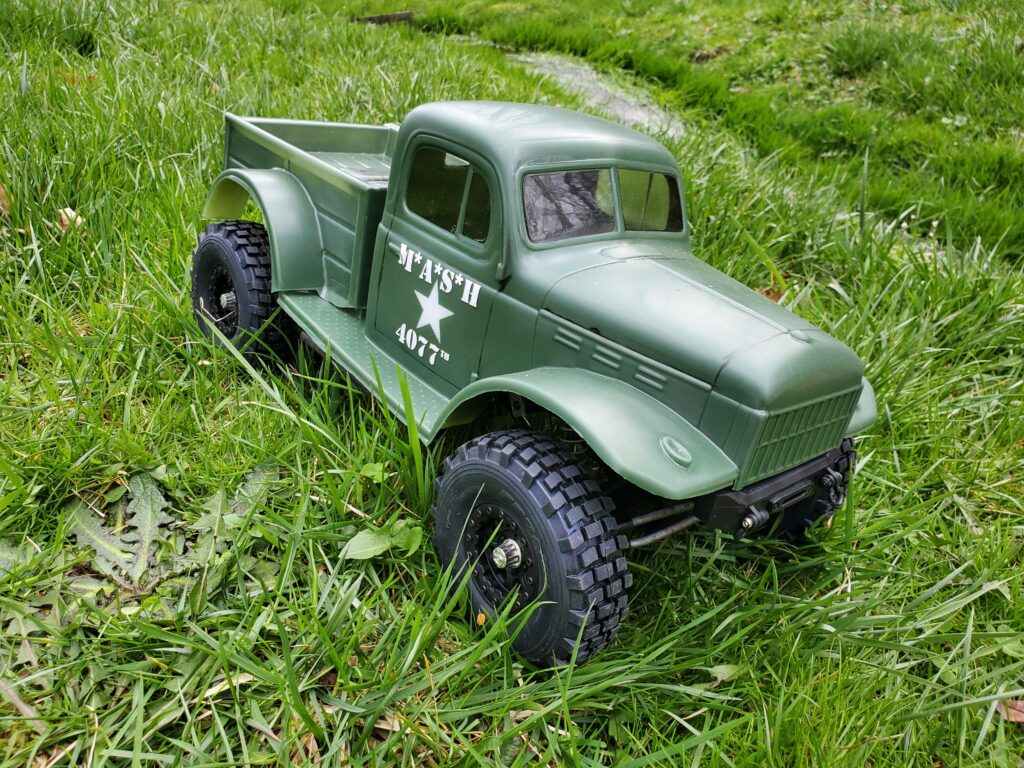
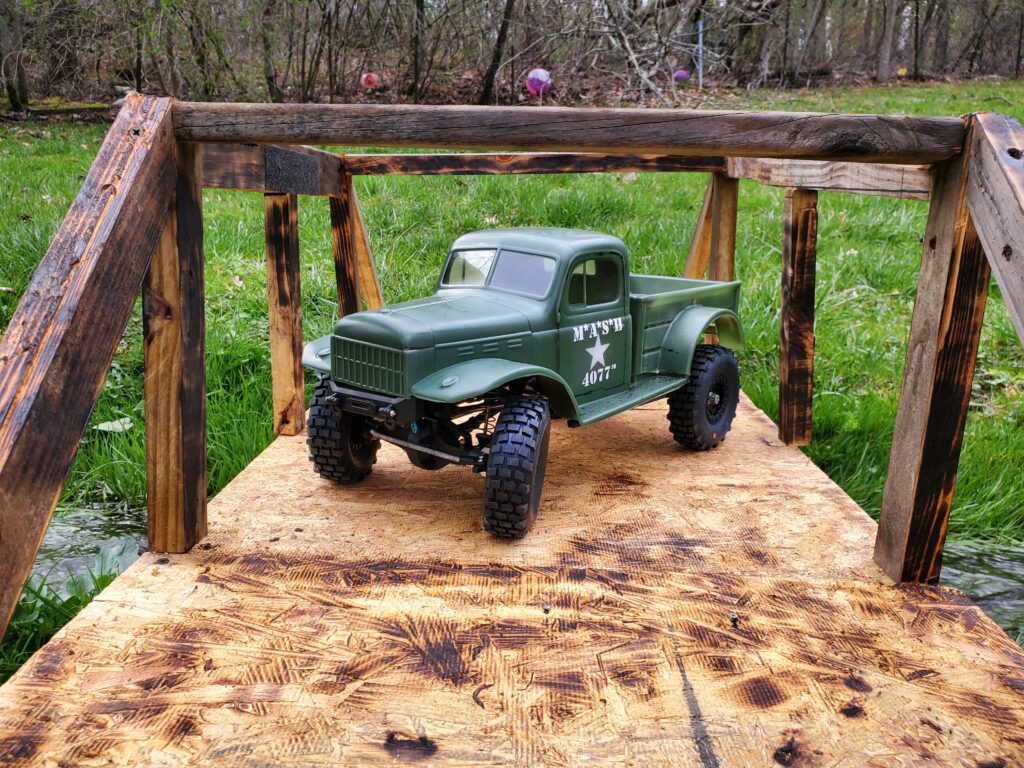
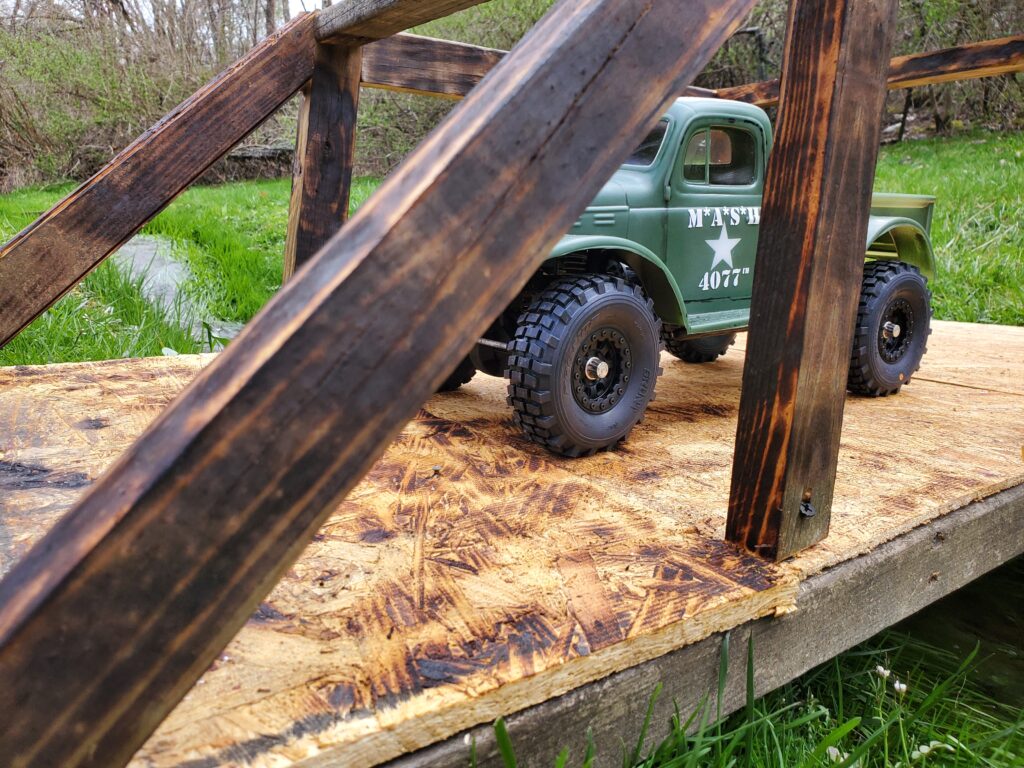
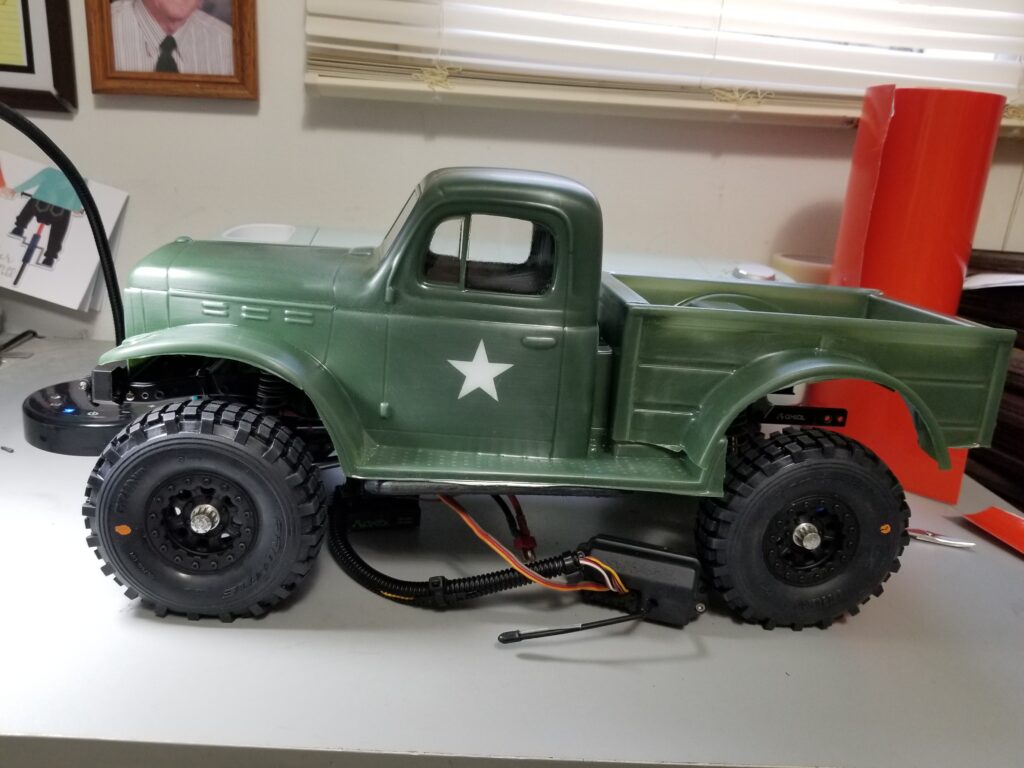
First up was to change out the nearly decade-old body shell for something a little more detailed. My family has a long history of military service dating back over two centuries and I knew that I wanted to do something to celebrate that. This, combined with our love of the classic TV series MASH made the decision simple to go with the 1946 Dodge Power Wagon. This is the closest approximation to a Korean War era ambulance or support vehicle that was featured on the show. The initial plan was to fabricate a styrene ambulance box for the back of the truck but this was a little out of my range of skills so that plan was changed and instead I set out to replicate a standard support truck that would have served during that time. I used this as an opportunity to do a how-to on flat paint finishes (link here: https://1i-rc.com/how-to-achieve-a-flat-or-matte-finish-on-lexan-the-easy-way/ ) and that is where some of these photos came from. To secure the body I used small neodymium magnets under the body and also on the body posts, secured with two-part epoxy, which hold the shell securely but also allows easy access to the chassis for simple battery changes.


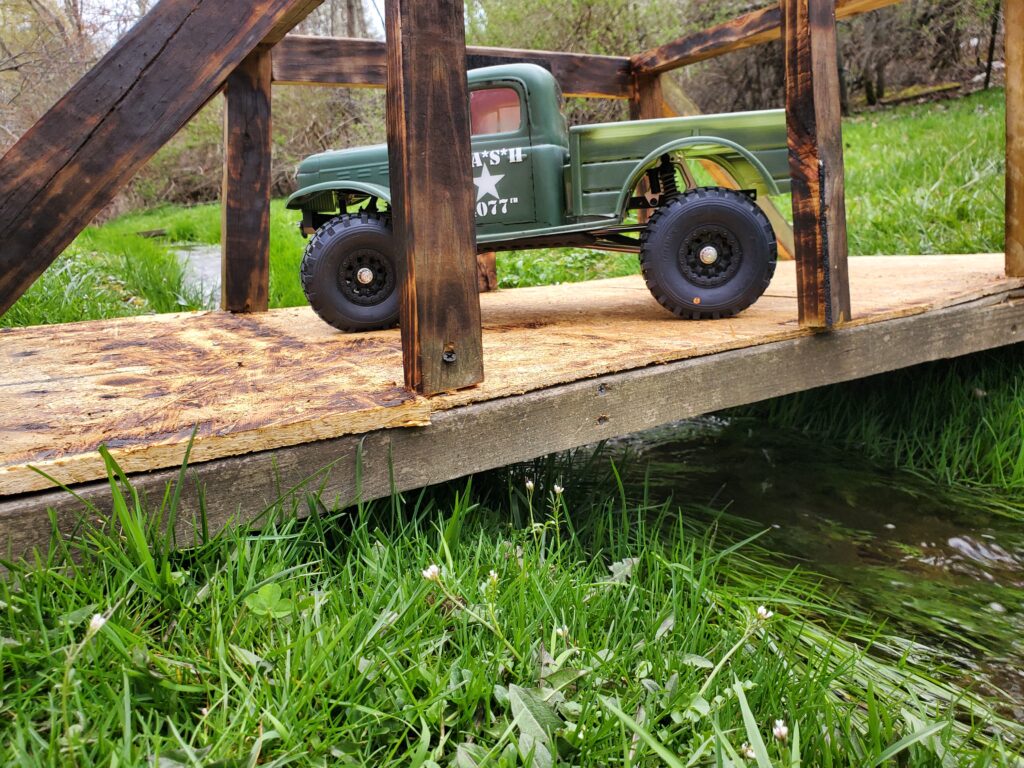
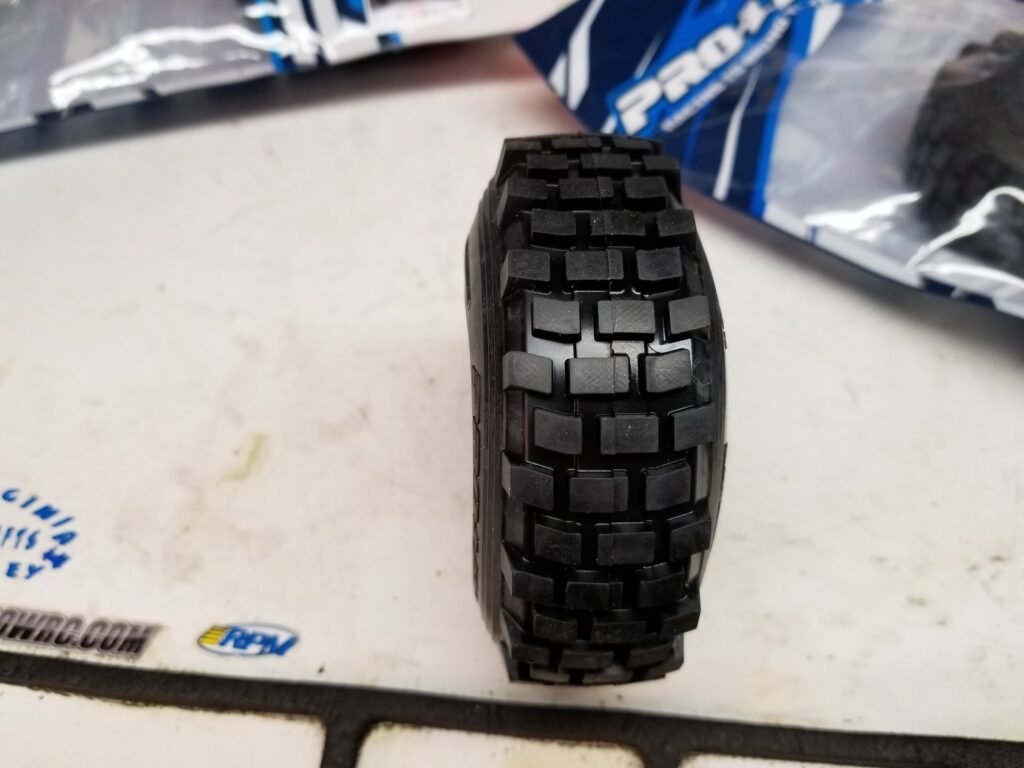
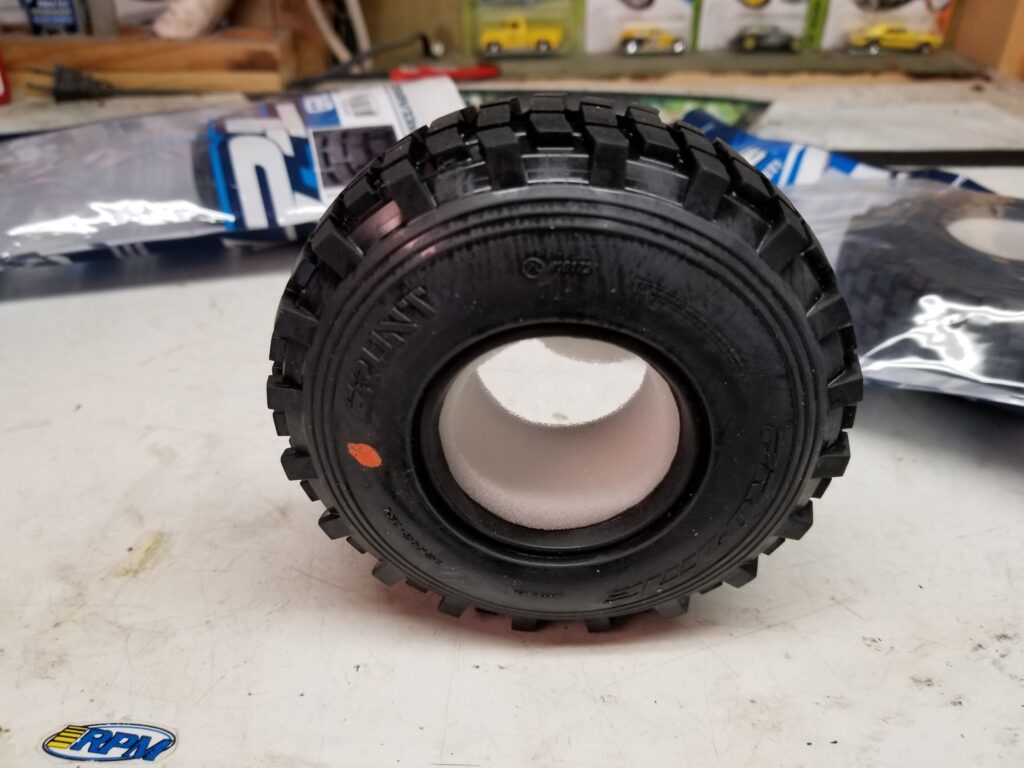
At this point the truck was still running its original kit supplied Pro-Line Flat Iron 1.9″ tires. After a decade of use and abuse they were still holding up but they were showing their age and didn’t really look correct on the Power Wagon. Fortunately PL just came out with a new military style tire called the Grunt and that tire looks right at home on the old Dodge. I decided to wrap those tires around a set of PL’s Denali 1.9″ beadlocks in the black-on-black finish. These are a three-piece true beadlock wheel with a plastic center section and aluminum beadlock rings that are clamped by 16 screws on each side; a total of 128 screws for a set of 4! The bead is held in very securely but that is a workout. I recommend using a quality hex bit with a hardened tip such as the Associated Factory Team 1/4″ hex bit set and a power screwdriver with a clutch to prevent over-tightening. I did the first round of mounting by hand only to realize that I had the beadlock rings on the wrong side and had to disassemble all four wheels and reassemble them in the correct orientation. This was a simple, dumb mistake on my part and the decision was made to use the power driver for reassembly. Overall I love the look of this wheel and tire combination and can’t wait to throw some rocks under the Grunts.
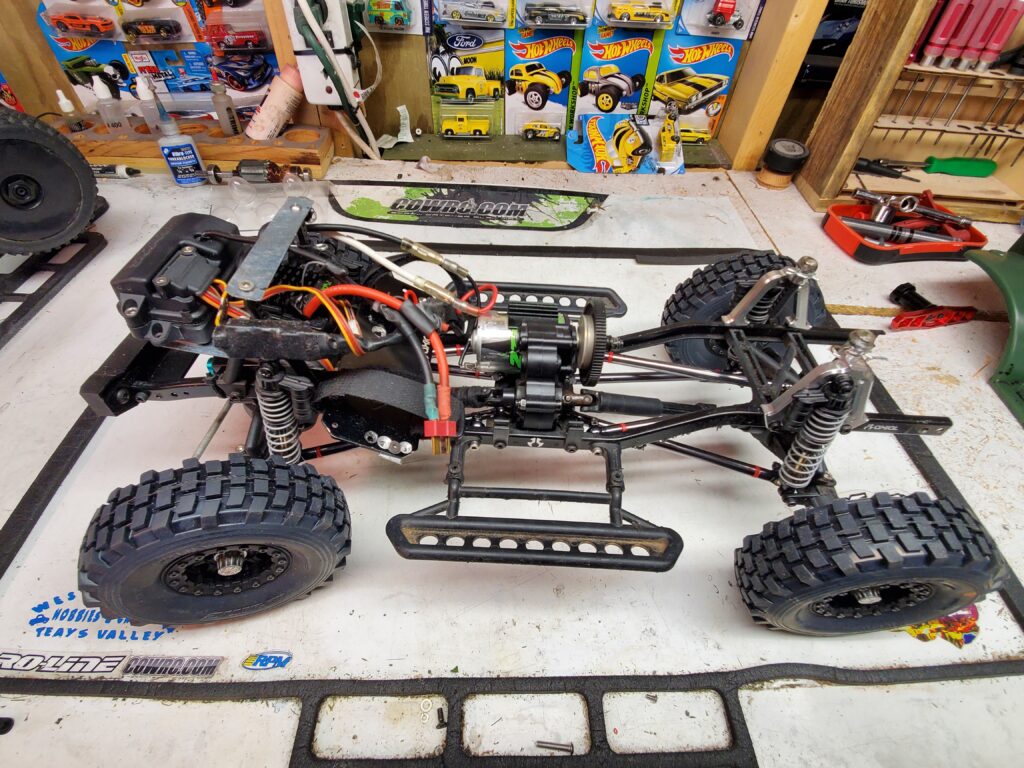
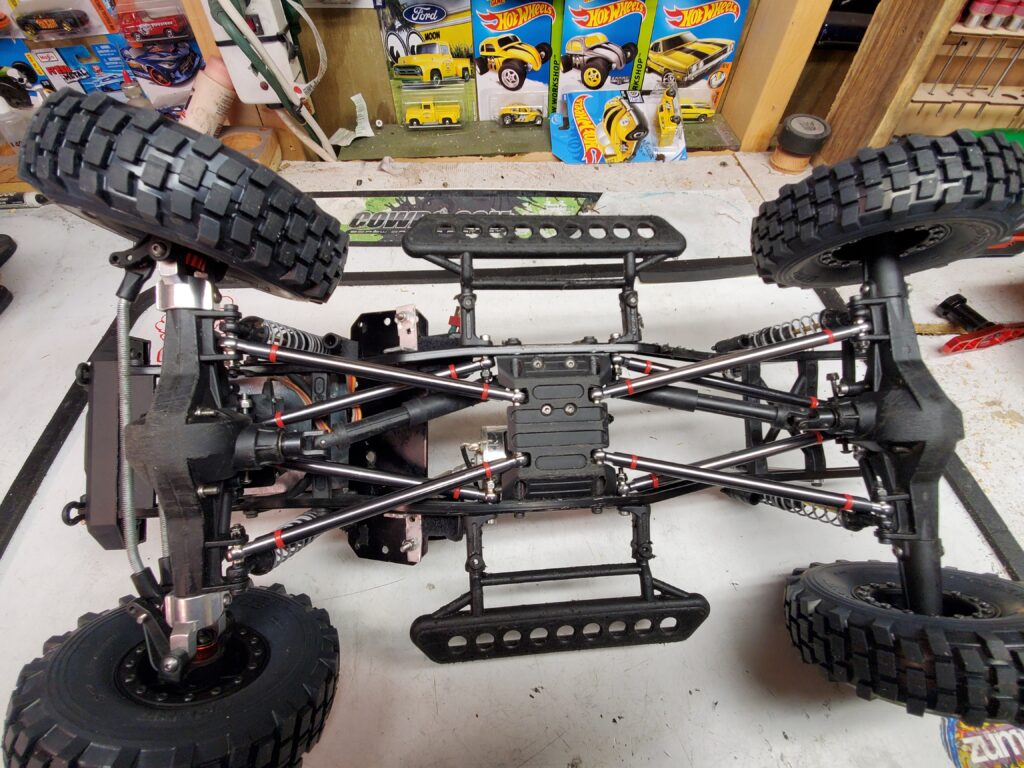
When I stretched the wheelbase of the Dingo originally to fit the Bronco shell I only stretched the rear links while adding a 4-link truss to the rear axle. This shifted some of the weight forward and help with ascending but also left the body mounts in odd locations. For the new Power Wagon I wanted to swap the plastic links out for something stronger and also have the links in a more conventional orientation. I bought a set stainless steel links and installed those along with a new 4-link truss up front.
When mocking up the body I realized that I needed to move the electronics to the front to allow the body to sit as close to the sliders as possible. I fabricated a plate that bolts between the two front crossmembers and mounts the speed control and receiver box as low as possible without contacting the servo at full bump.
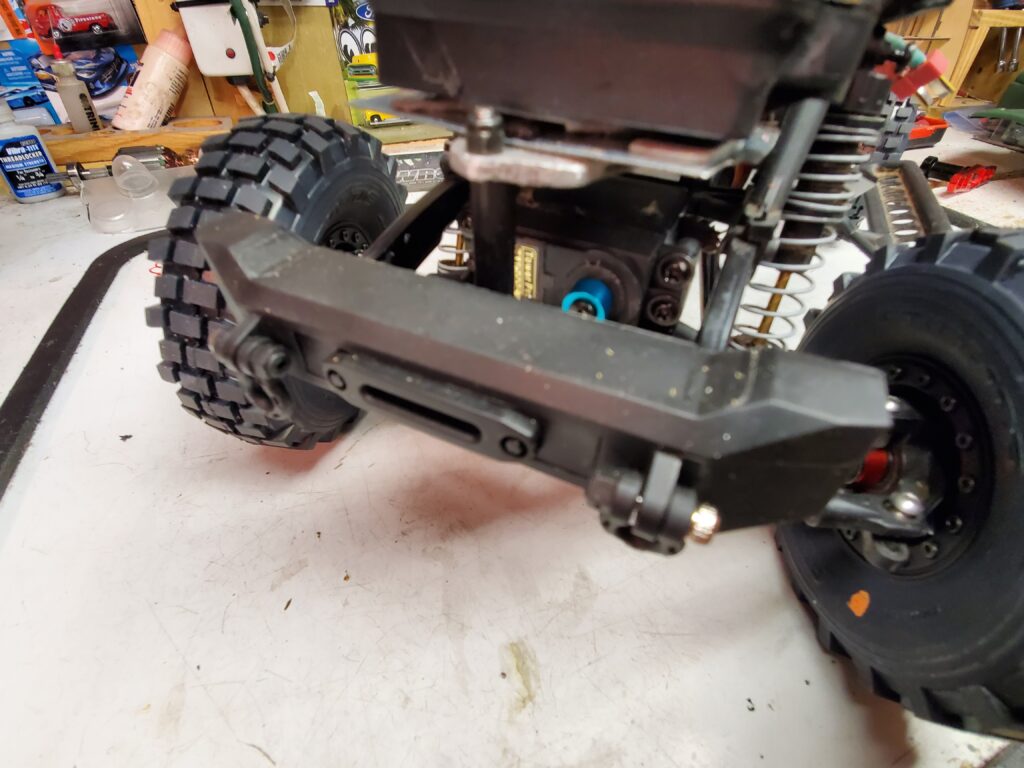
Just ahead of the electronics is the Pro-Line Ridgeline bumper in its narrow variant. This bumper has provisions for a light bar and winch fairlead as well as two D-rings that can be detail painted to match any paint scheme. My initial plan was to have the MASH 4077th logo on the left corner of the bumper just like the 1:1 but the area is just a little too small to get the graphic in. Due to the shape of the rear section of the bed I was unable to use a rear bumper.
While this was a simple refresh of an old friend I am extremely happy with how the project came out. I would like to add some lighting to the truck in the future and weather the body to bring out some of the finer details but overall I am pleased with how this simple project came out. Once the pandemic ends and the weather clears I’ll be able to get the truck out and put it through its paces. The last thing for this phase of the project is to give it a new name. Buster the Bronco won’t really work anymore and I am leaving it up to you all to help me choose. Drop a comment below with your suggestion and I’ll choose a winner and kick in a prize pack from us and Two-Three Graphics Co.