

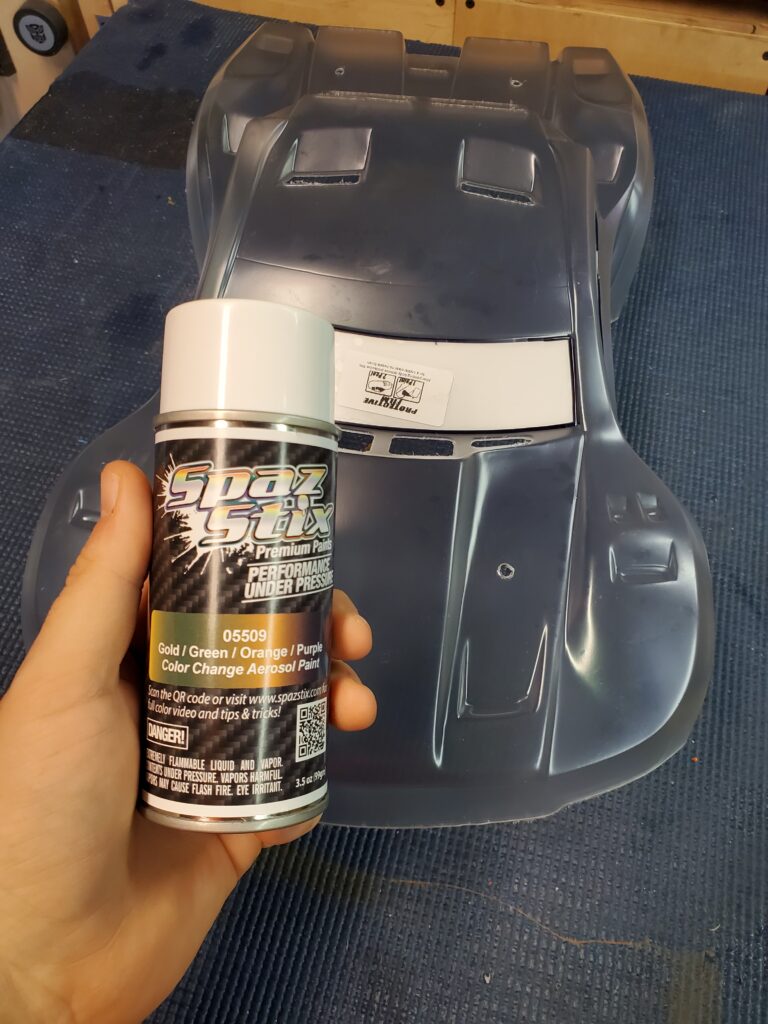
Color changing paint has been a popular, albeit expensive, finish in the full scale world for decades dating back to Chromaflair and its counterparts. Personally I remember seeing Jeff Gordon’s Chromalusion DuPont #24 back in 1998 and have a die-cast model of it in my office. I have had an affinity for the wonder-finish since, using it on the interior of my first full-scale car and even trying a consumer grade paint system on a few RC bodies over the years. That paint was known as Dupli Color Mirage and the three stage paint worked surprisingly well on polycarbonate. Fast forward 20 years and Mirage is no longer on store shelves and when looking for a color shifting hue for an upcoming project I found two options: Createx Auto Air Flair airbrush paints and the aerosol Spaz Stix color changing line. For this body I’ll be using the Spaz Stix aerosols on a Pro-Line Fusion Flo-Tek body shell.
Step One: Clean the shell. I use Dawn dish washing liquid as it does an excellent job of removing the mold release agent as well as any oils left by a stray fingerprint. Dry the body with a lint-free cloth and apply the window masks carefully as to not contaminate the body with chicken nugget juice. From this point forward do not touch the inside of the body. The Spaz Stix paint is extremely sensitive to contaminants and the final result could be blemished by even the smallest smudge.
Step Two: Apply the Spaz Stix Ultimate Surface Pre-Prep Aerosol (#90059). This spray only requires a light dust coat or two to be effective. If the paint looks wet on the shell you’ve used too much; the prep will dry almost immediately once it hits the surface. The Pre-Prep spray aids in adhesion and will reduce any swirling effect in the final finish. At this point the body should still be clear. Once this coat is completely dry move on to step three.

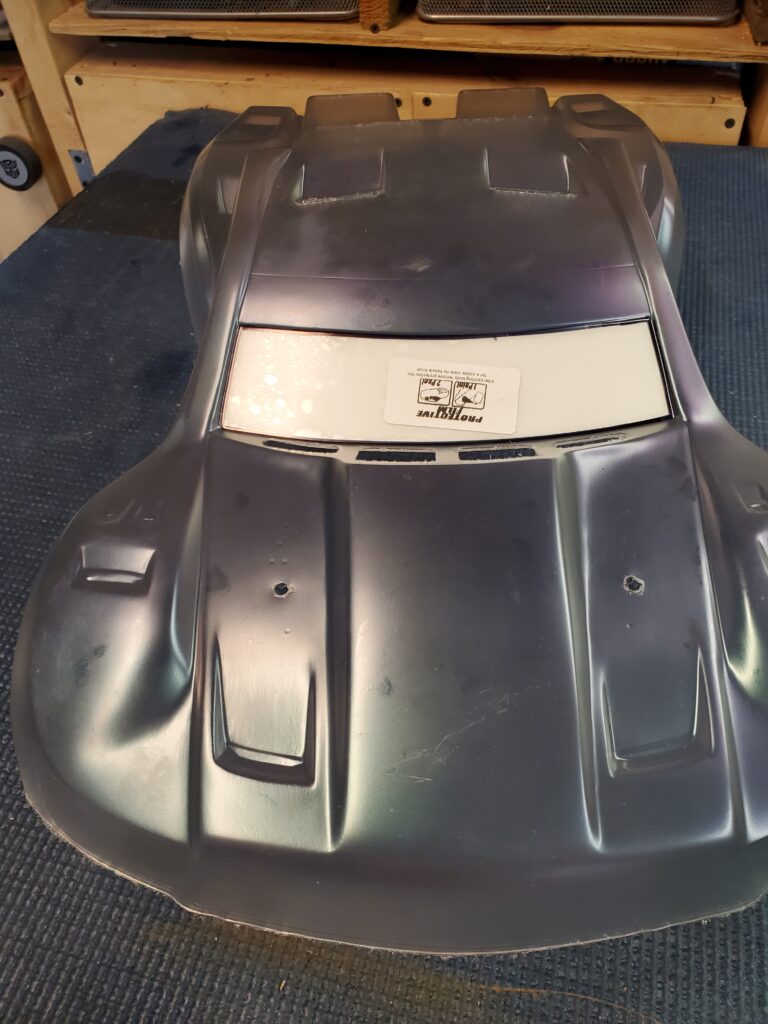
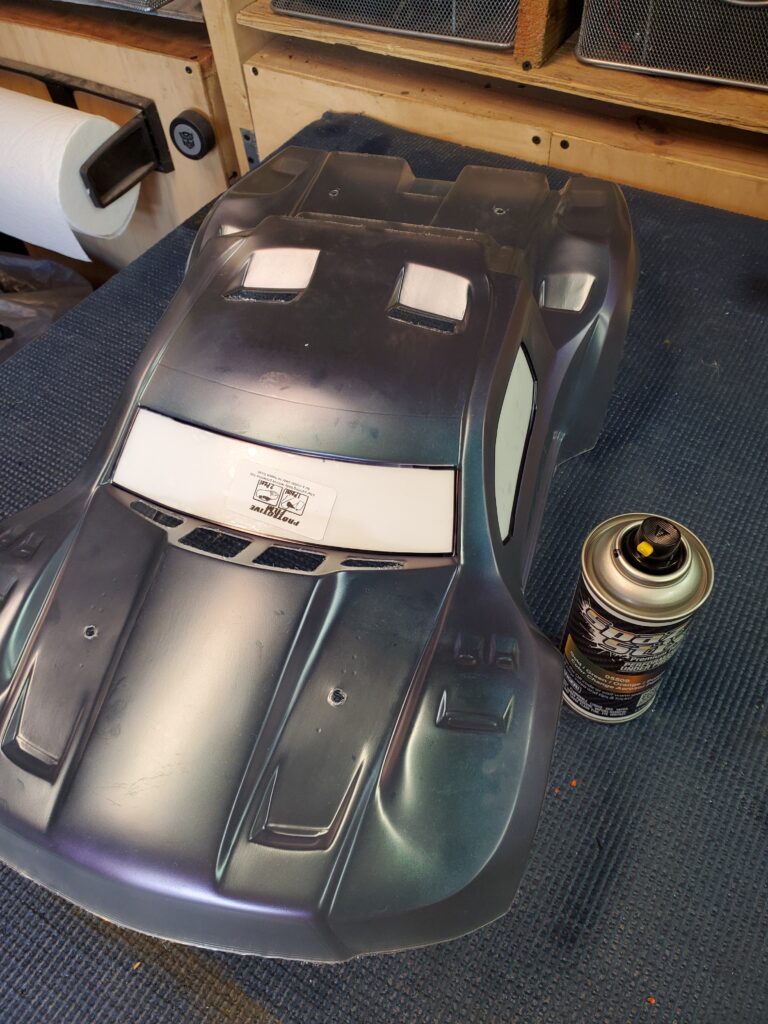
Step Three: Color coats (sort of). The Spaz Stix color changing paints spray mostly clear and only show their true shade once backed with black. I sprayed three light coats for complete coverage and a medium fourth coat to level the finish out. I’ve included a few photos of each coat along the way to show how the paint looks after each coat.
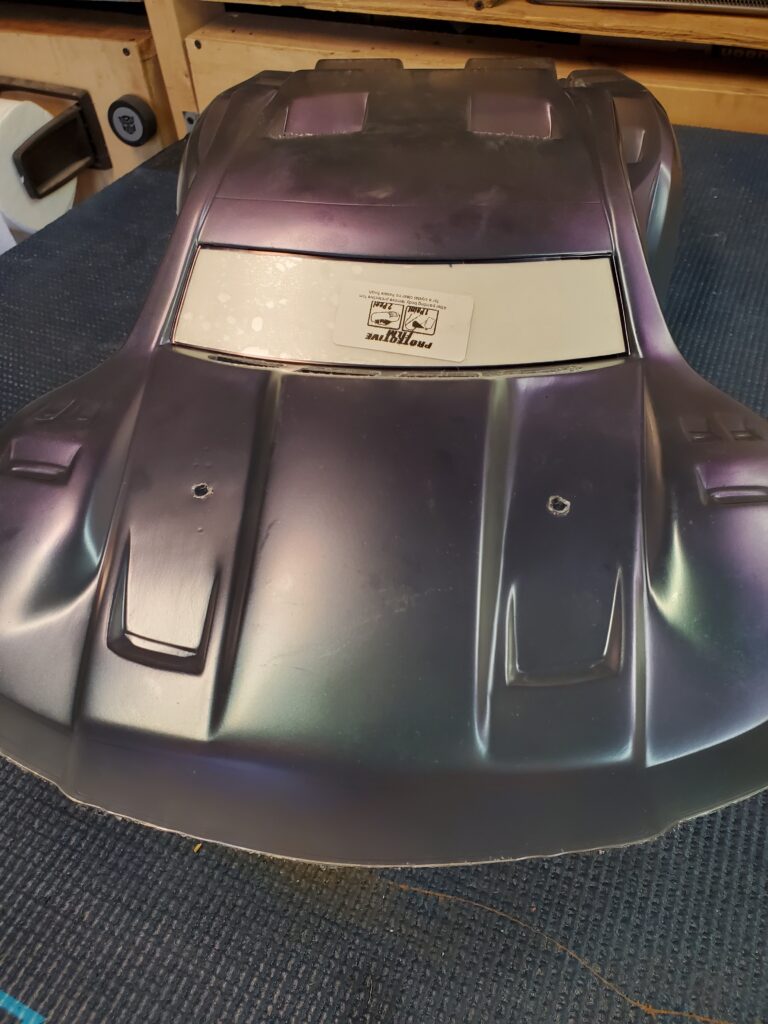
Step Four: Back In Black, literally. Like I said in step three, the color changing paint needs a black backer to show its true colors. Spaz Stix makes their own Black Backer (#00119) but I chose to use my go-to black, Createx Opaque Black (5211) sprayed through an airbrush. I chose to do this as it is more tolerant of being sprayed wet and I also didn’t have any of the Spaz Stix black on hand. This also afforded me the opportunity to experiment with a new clear coat finish that will be used in the next step. I chose to use two coats of black, one thin and one on the heavier side of medium. I dried these coats with a hairdryer to fully set the paint before moving on. The Spaz Stix aerosol’s did not get the rapid-dried-by-hot-air treatment and were allowed to dry on their own (a quick process in itself).
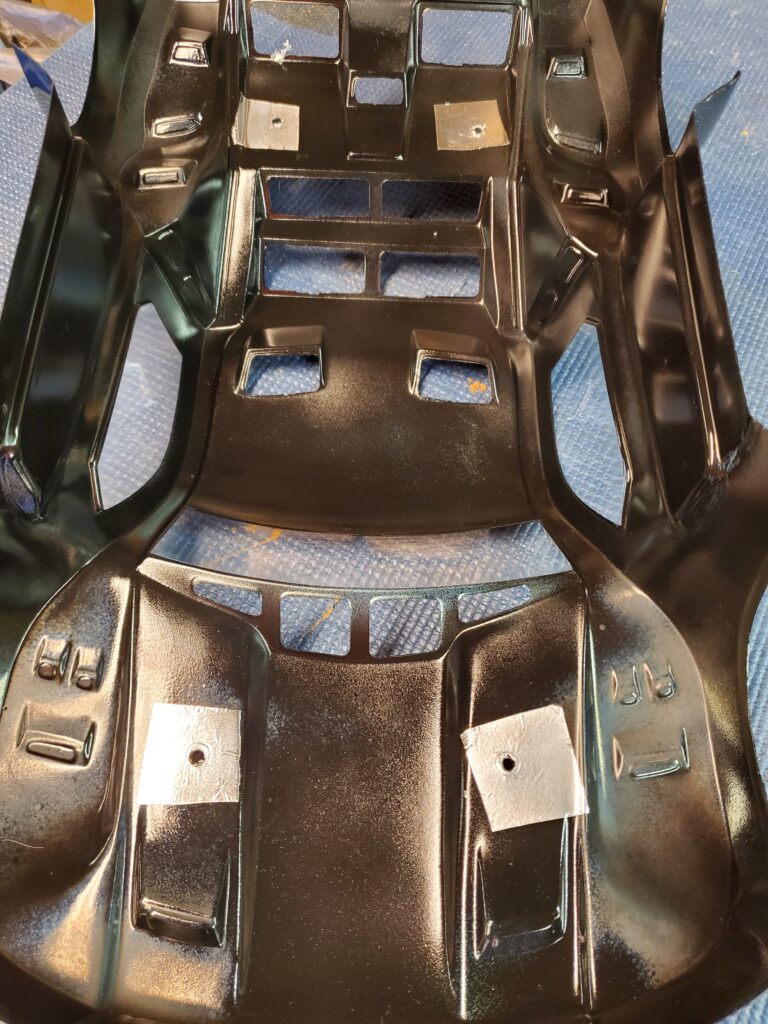
Step Five: Clearly almost there. For my airbrushed bodies I always back the final layer of paint with a clear to ward off abrasion damage and to make the shell easier to clean. This coat doesn’t affect the outward appearance of the shell but only serves to protect all of the paint layers from debris that is flung off of the tires and could chip or abrade the finish. This layer also serves as a barrier for nitro fuel for glow powered models. For this project I used Createx Colors UVLS Gloss Clear (#4050) that is designed to offer more protection even from Ultraviolet light degradation. This was applied in two medium coats. Unfortunately there’s not much to see with this one, the black looks the same on the inside once cleared.
At this point the body is done and ready to be unwrapped. The Spaz Stix will be fully cured in around 24 hours, try to avoid handling the painted surfaces within that time frame.
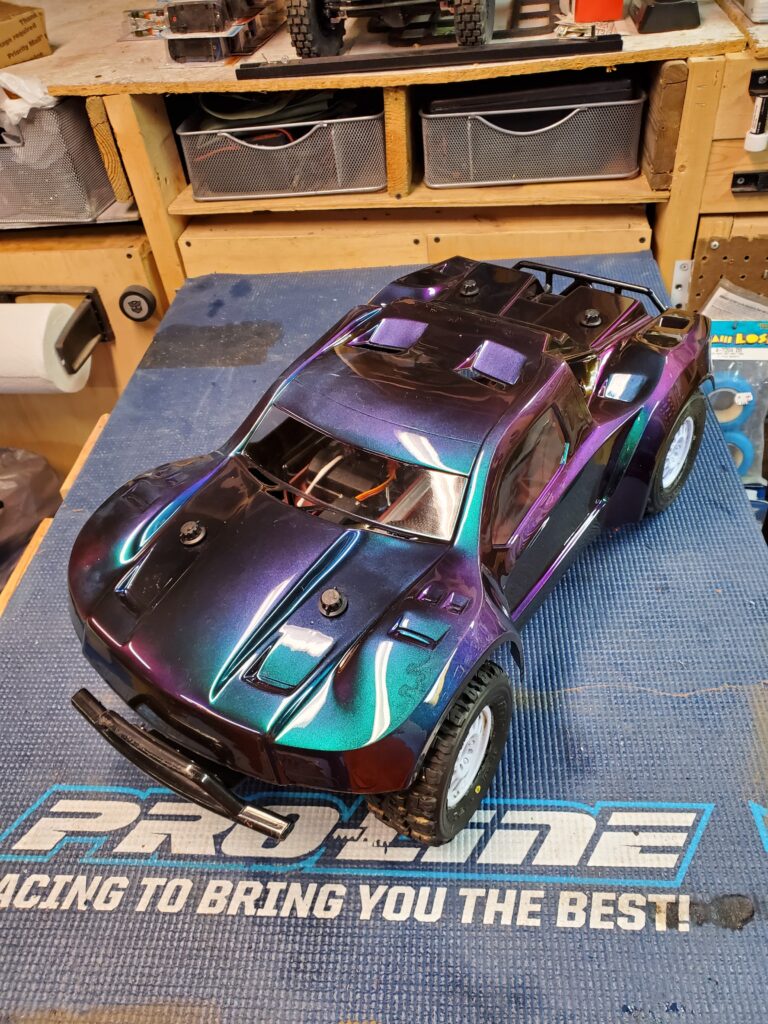
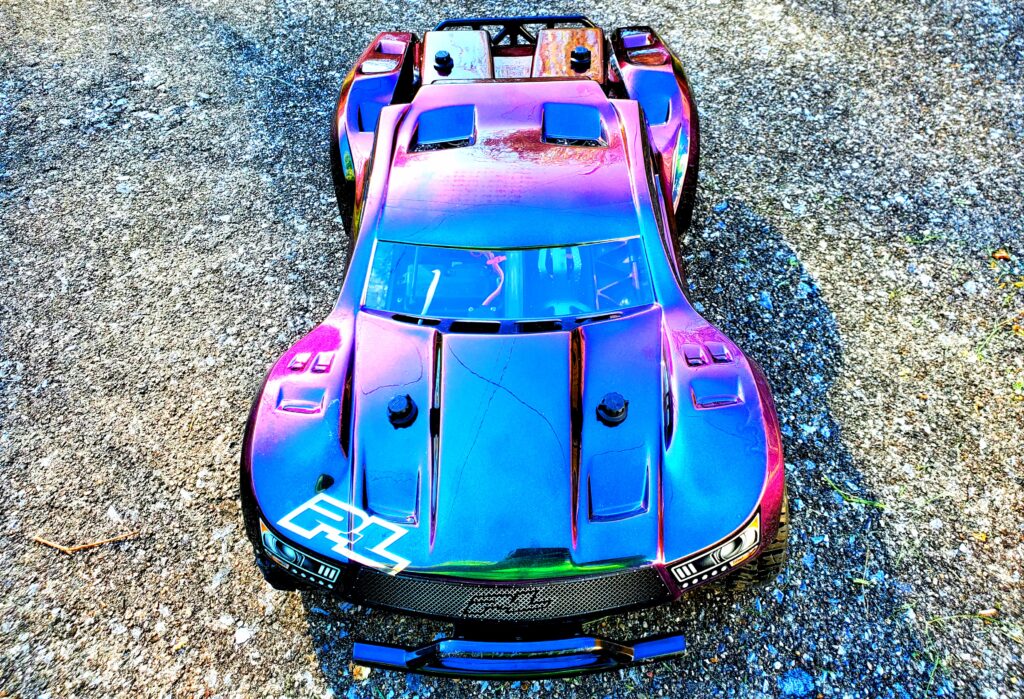
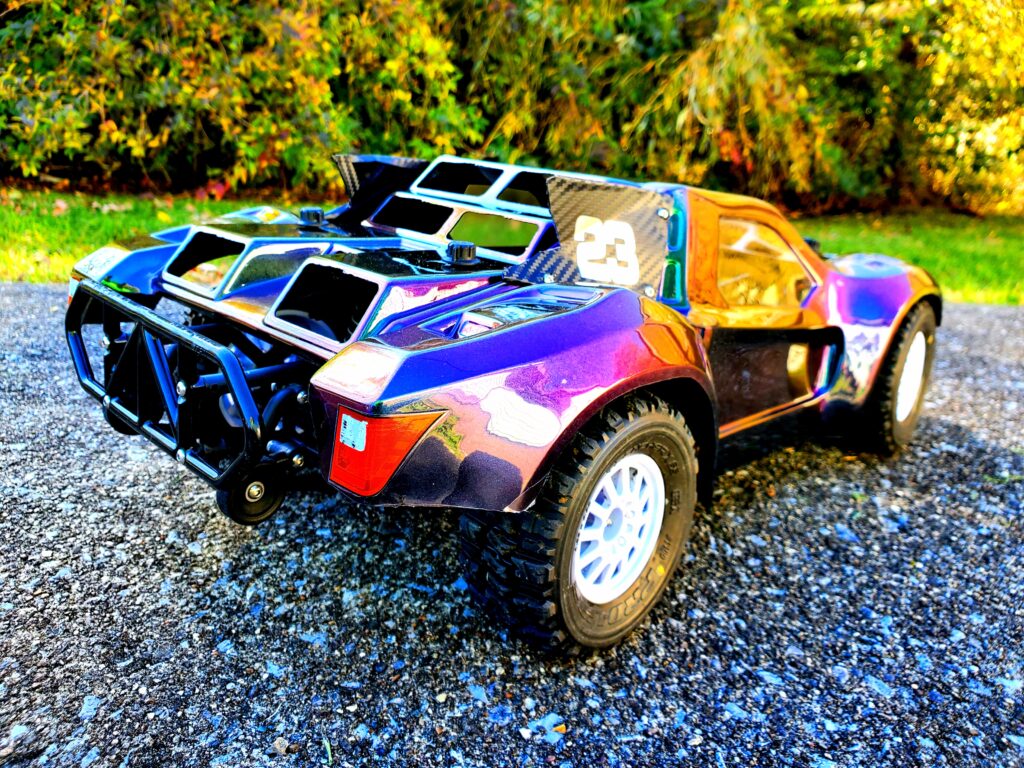
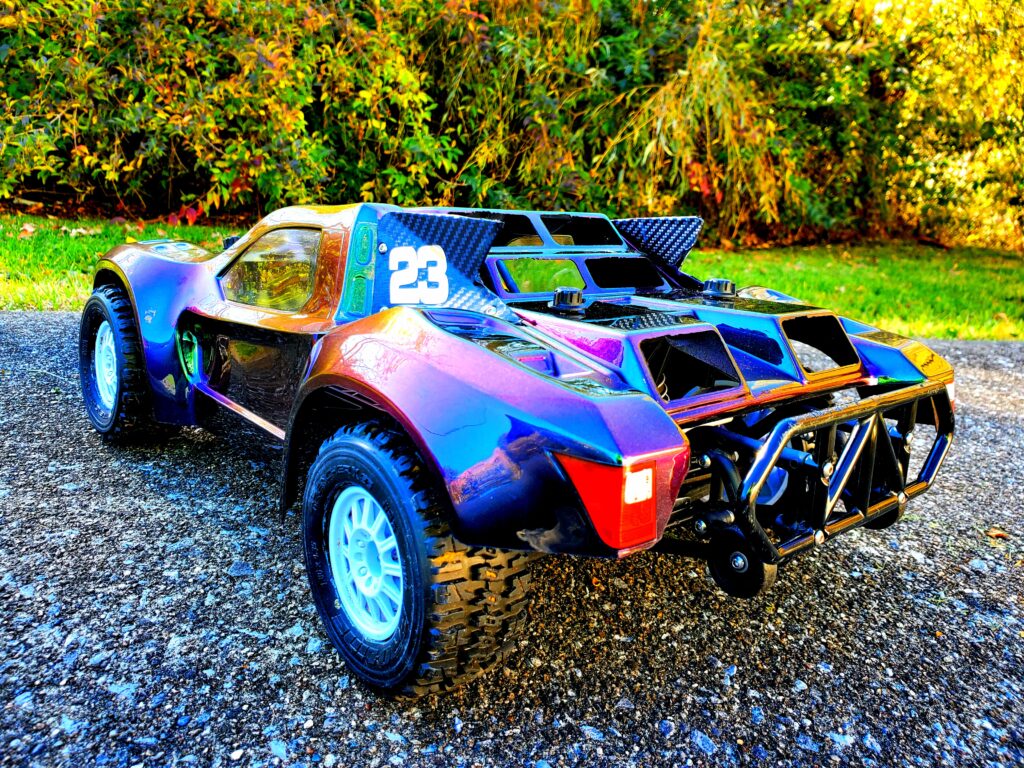
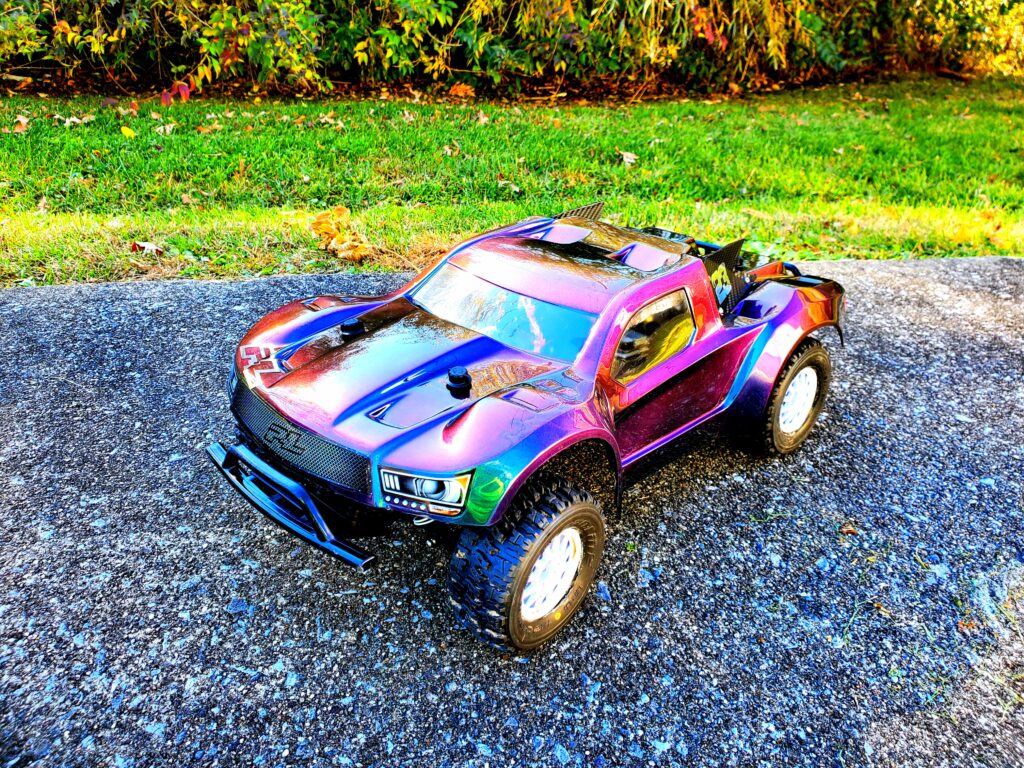
I finished off the shell with some carbon fiber wrap on the number plates and some chrome accent graphics, along with the stock Pro-Line detail decals included wit the body.
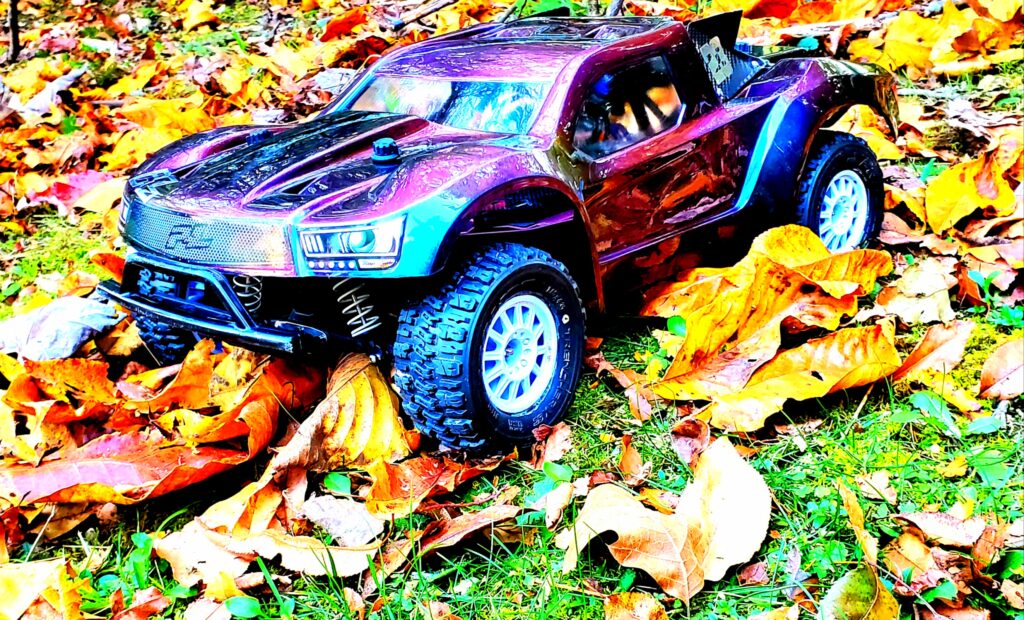
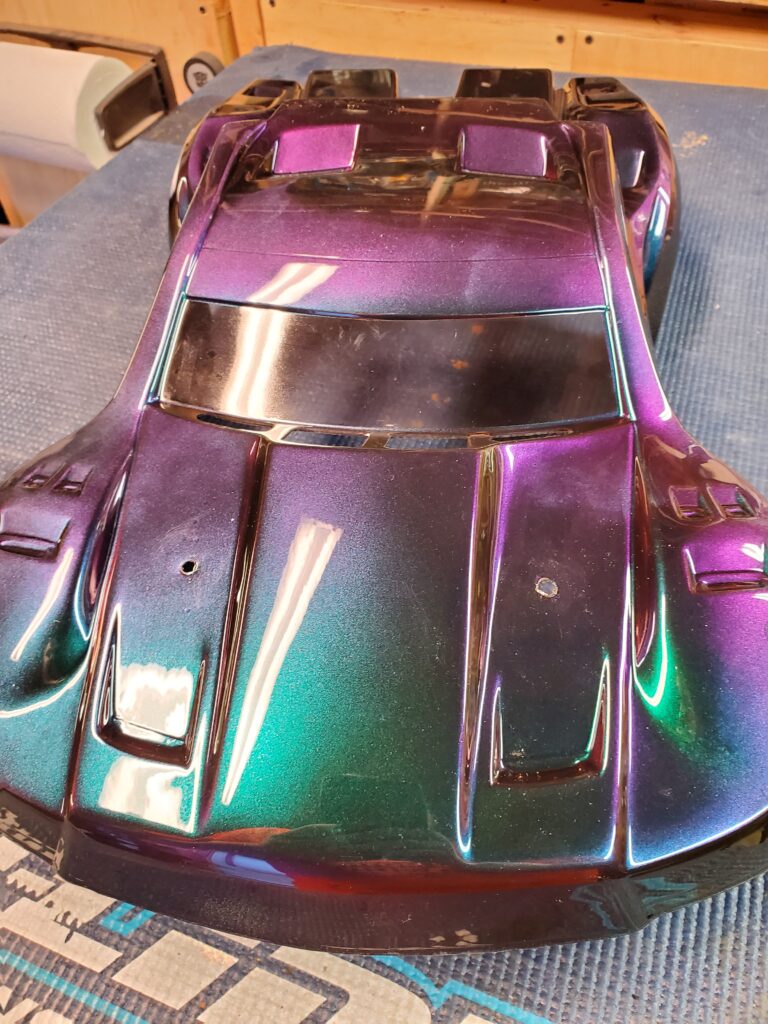
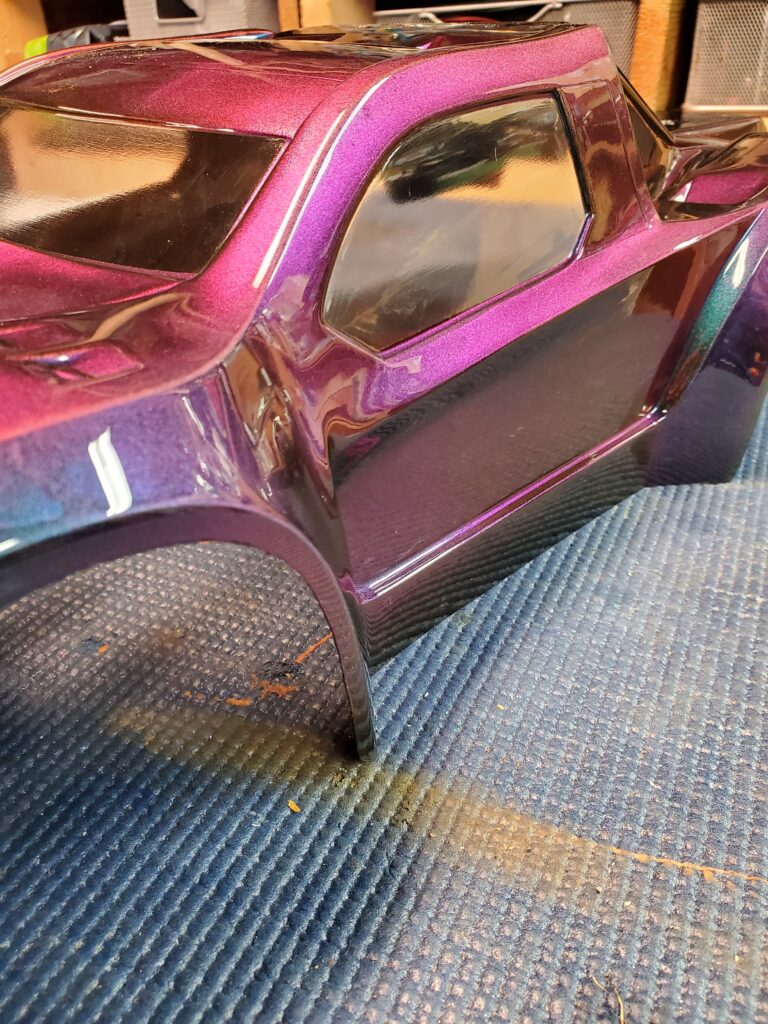
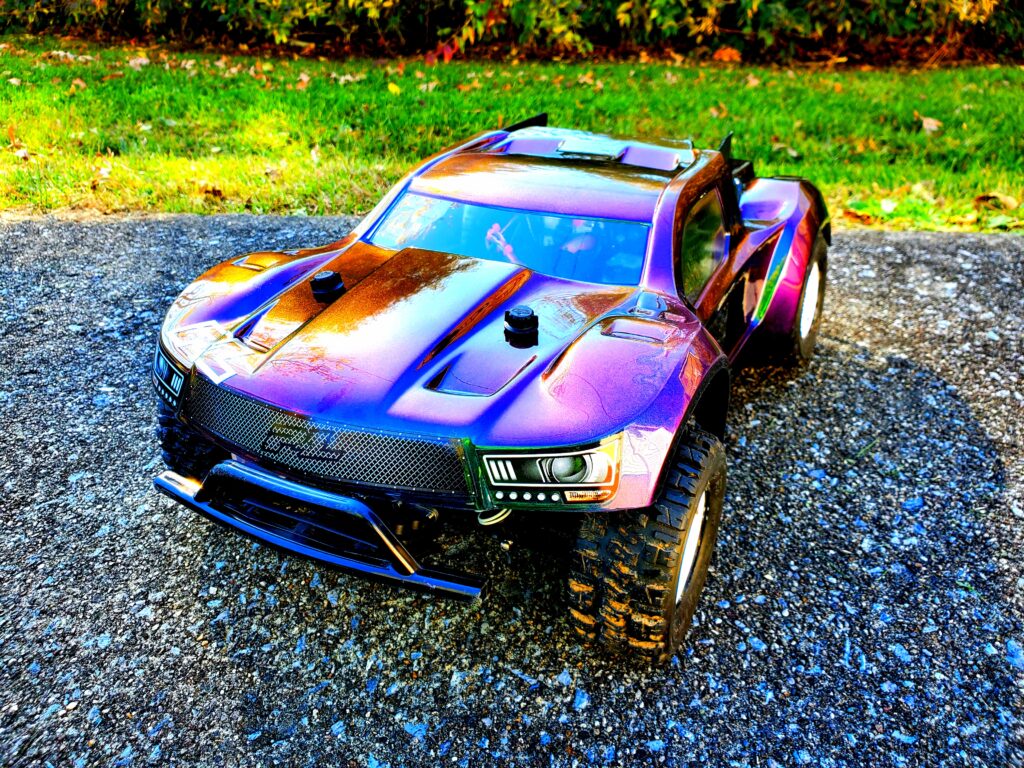
In direct sunlight this body pops; each color blending into the next across the flowing lines of the body. Even in low-light or artificial light the color transformation is stunning. I could not be happier with the results of this paint. This was my first experience with Spaz Stix paints and I am extremely pleased with their performance.
Items used in this article:
-Spaz Stix 90059 Ultimate Pre-Prep Aerosol Spray
-Spaz Stix 05509 Gold/Green/Orange/Purple Aerosol Spray
-Createx Airbrush Colors 5211 Opaque Black Airbrush Paint
-Createx Colors 4050 UVLS Gloss Clear Airbrush Paint
-Pro-Line Flo-Tek Fusion Body 3458-17
1 thought on “Color Changing Paint: Simple Steps To A Stunning Shell”
Comments are closed.