
I can’t take the entire claim for this idea as my inspiration came from fellow YouTube’r Crawler Canyon (link: https://www.youtube.com/channel/UC-N1j3WqtZVKTqALh3KHUaw/join }, however, I felt like this is something that my readers should also know about as these shocks are very affordable and, honestly, a good option for those whose budget may not allow the purchase of boutique shocks like Kyosho Velvets. Anyone familiar with Amazon, AliExpress or Temu will have undoubtedly have seen these exact shocks advertised for prices as low as $6 per pair and wondered “but are they any good?” The answer is: sort of. Out of the bag these shocks leaks like a sieve and have bladders that are such in name alone. So, why then would one throw $12 {or more, depending on where you purchase them) down the drain just to have a shock that doesn’t work? Because making these shocks work is a simple, and inexpensive, process that only involves the purchase of two parts packages: the TRA2362 and TRA2669, each of which cost $2.50, and you will need two each to build four shocks. Also used in this project are a set of shock shaft pliers, a set of fine point circlip pliers (the ones used here are from Harbor Freight) as well as some form of O-rimg grease like the CowRC Udder Butter used here or Team Associated Factory Team Green Slime. Follow along as we “fix” these inexpensive dampers, turning them into something that will actually improve the performance of your trailing rig.
STEP ONE
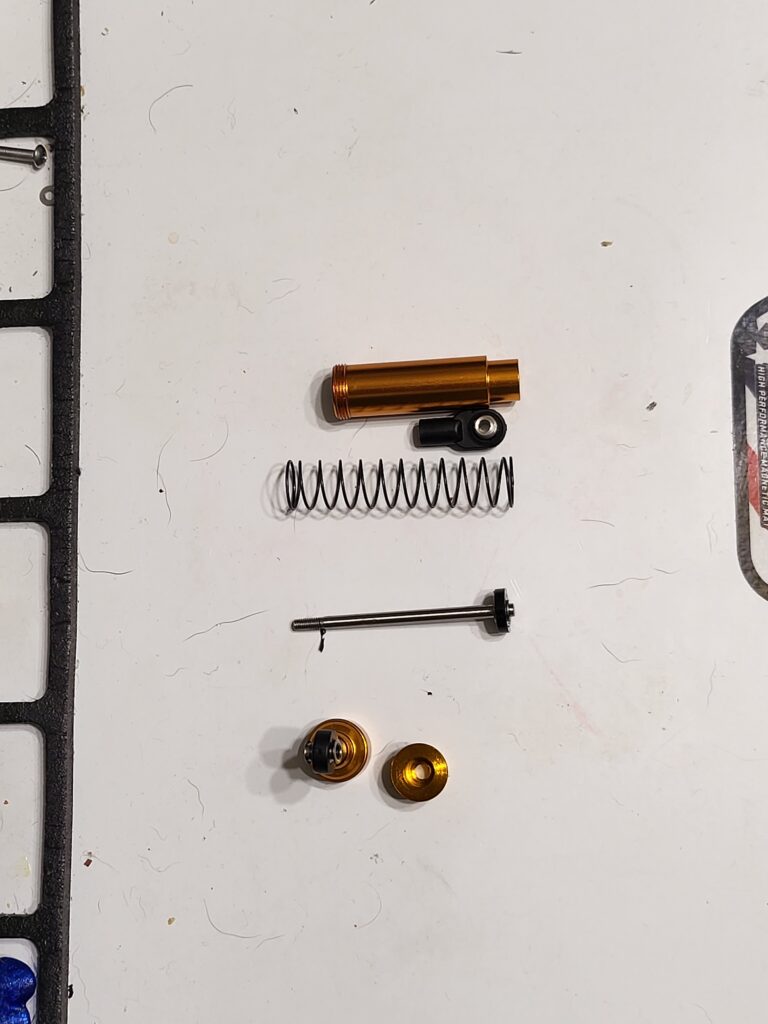
Step one will be to remove the upper shock mount and empty any of the factory filled shock fluid into a separate container for disposal. If your shocks are like mine most of the shock oil will be coating the inside of the poly bag used for shipping, making this step rather easy.
STEP TWO
Pull the spring up slightly to expose a portion of the shock shaft and grip it with a set of shock shaft pliers so as to not scratch the shafts. Unscrew the lower spring cup and remove the spring from the shock. Set these parts aside as they will be reused later. Note: I have already replaced the pistons on these dampers with the Traxxas 2669 two hole pistons.
STEP THREE
This might be the most difficult step of the whole process: removing the circlip that holds the lower cartridge into the shock body. Once this little pain is removed the entire cartridge can be slid out and discarded.
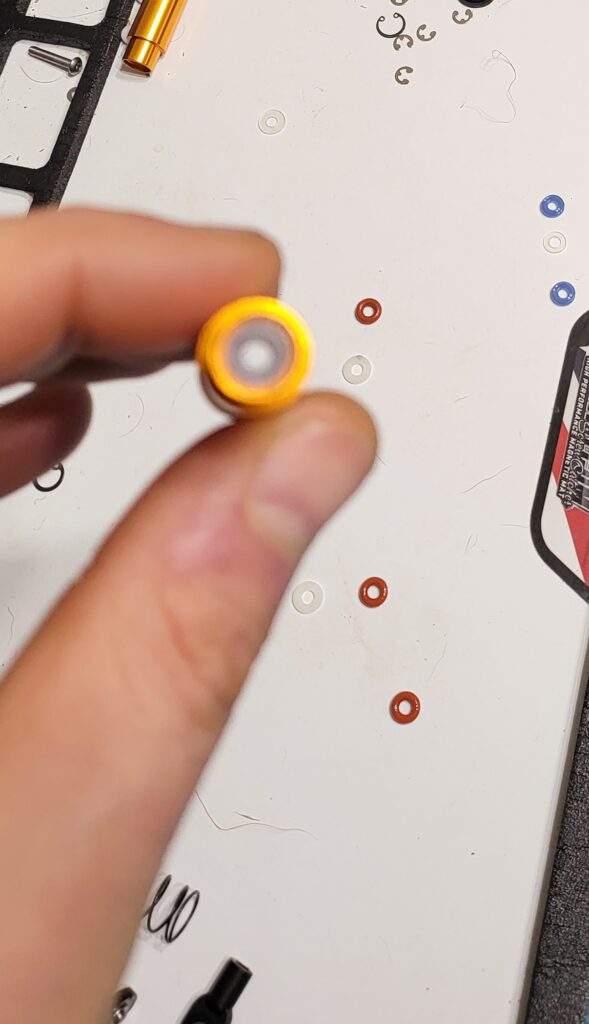
Shown above is the lower seal cartridge, comprised of an O-ring, a small plastic spacer and finally another O-ring, all held in place with a steel circlip. We will be replacing these with the Traxxas 2362 X-rings and spacers, as well as replacing the upper white silicone bladder with the black Traxxas piece provided in the rebuild kit. The seal cartridge will comprise: one X-ring, one thin plastic spacer, a second X-ring and finally the thicker, larger diameter spacer included in the rebuild pack. Apply a liberal amount of O-ring grease to the seal pack before inserting it into the shock body and replace the circlip to hold everything in its new home. I like to re-insert the shock shaft at this point to make sure that everything moves smoothly and there’s no stiction. If anything has shifted and is binding take the seal pack back out and try reinserting it again: sometimes things can get misaligned slightly and this will cause significant drag on the shock shaft.
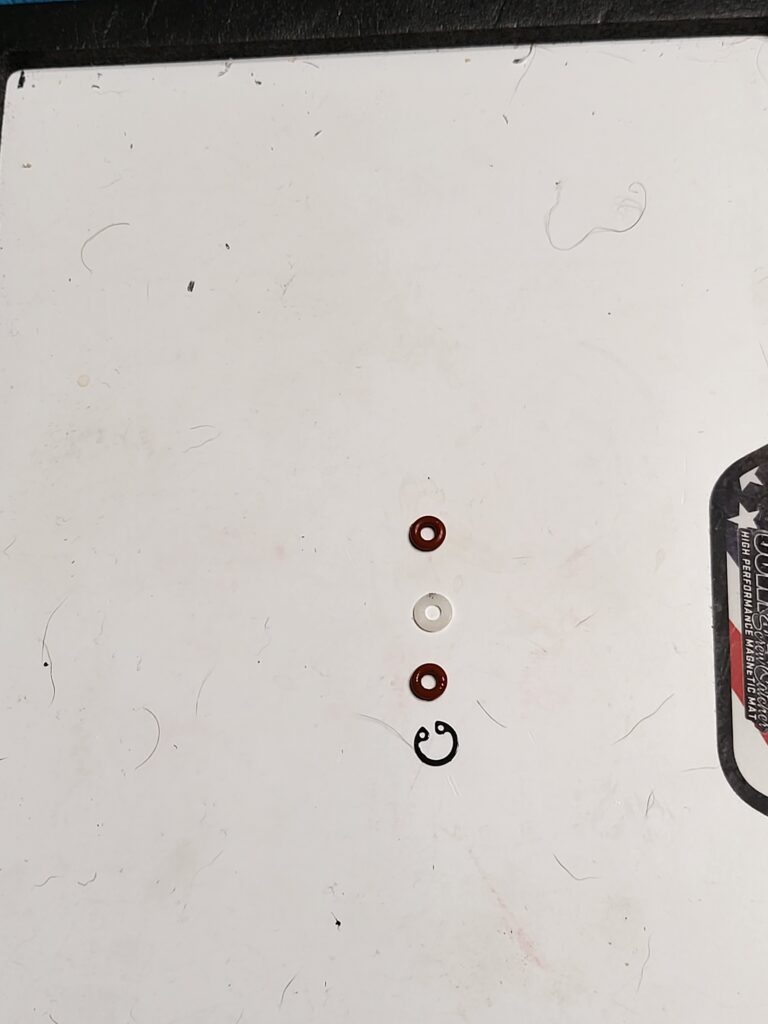
Shown above are the stock seals and spacers that will be discarded from the shock.
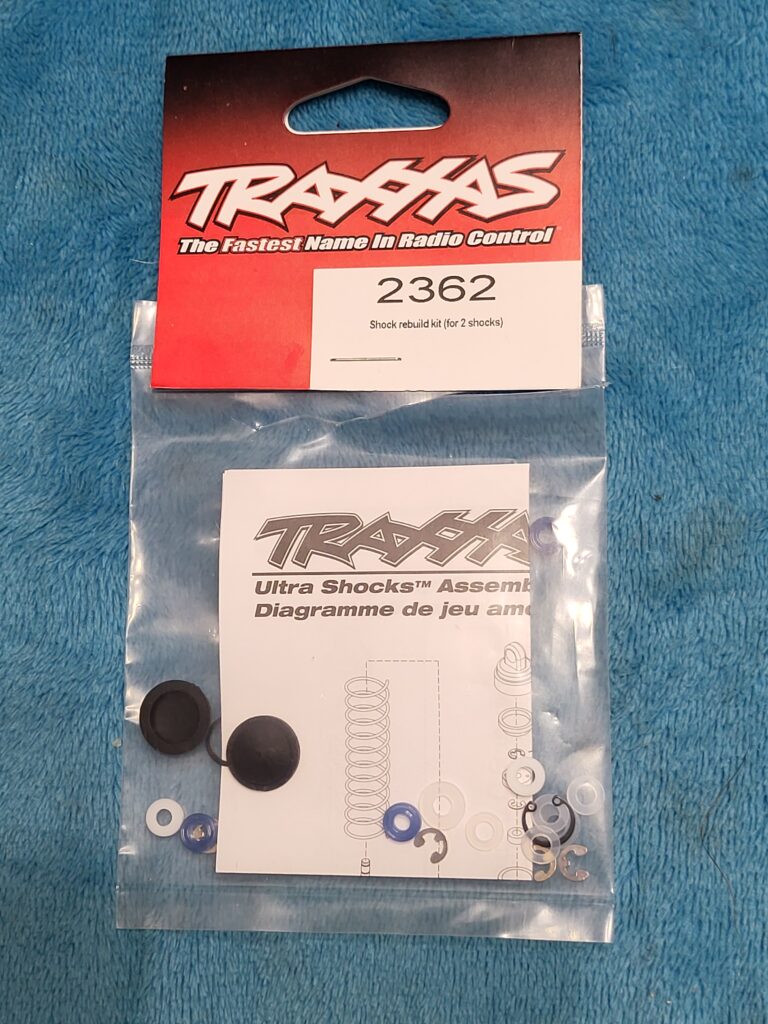
The Traxxas 2362 Big Bore shock rebuild kit used in this project

This photo shows the stock pieces (left) versus the Traxxas pieces used (right). Not shown in this photo is the larger plastic seal that is added to the bottom of the seal pack.
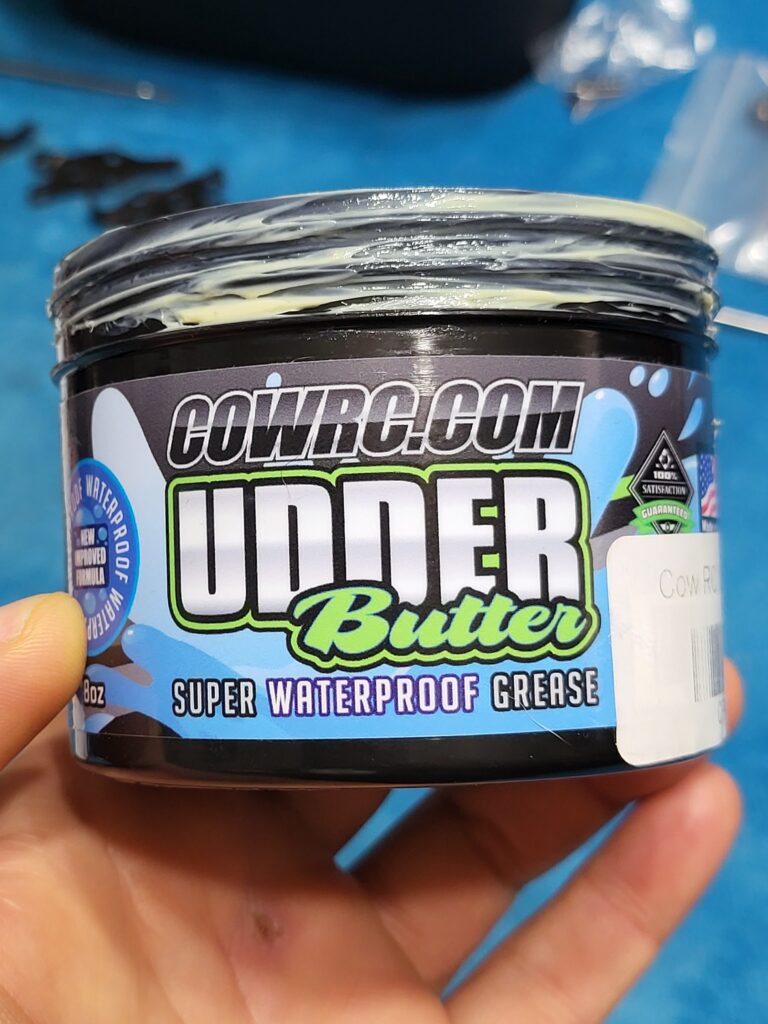
I’ve used CowRC Udder Butter for quite some time when rebuilding shocks as it is some of the best grease I’ve found for O-rings. Using this will help seal the O-rings to the spacers as well as to the outer wall of the shock shaft, while lubricating the shaft as it interfaces with the inside of the O-ring, reducing stiction.
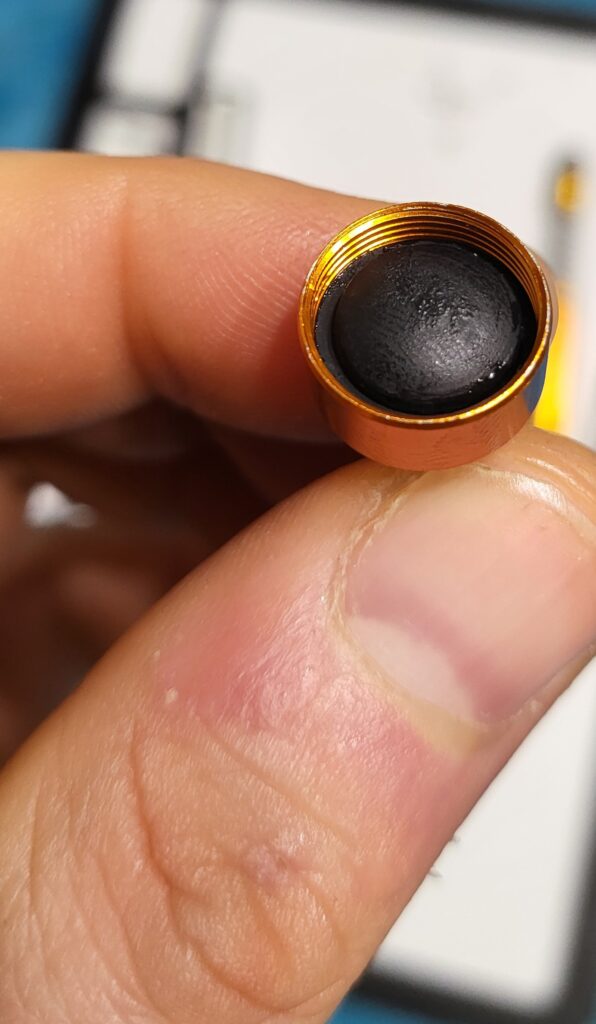
This shot shows the bottom seal installed between the seal pack and the circlip, helping to reduce leaks and preventing damage to the O-ring (or in this case, X-ring} due to being in contact with the circlip.
STEP FOUR
I did this off camera quite a while back and completely forgot to shoot photos of the process, but trust me, it is simple. Remove the e-clip holding the piston to the shock shaft (I use a hobby knife and a paper towel to keep the clip from disappearing). Once the piston is free replace it with the 2-hole piston from the Traxxas 2669 kit. Replace the e-clip and this portion of the project is done.
STEP FIVE
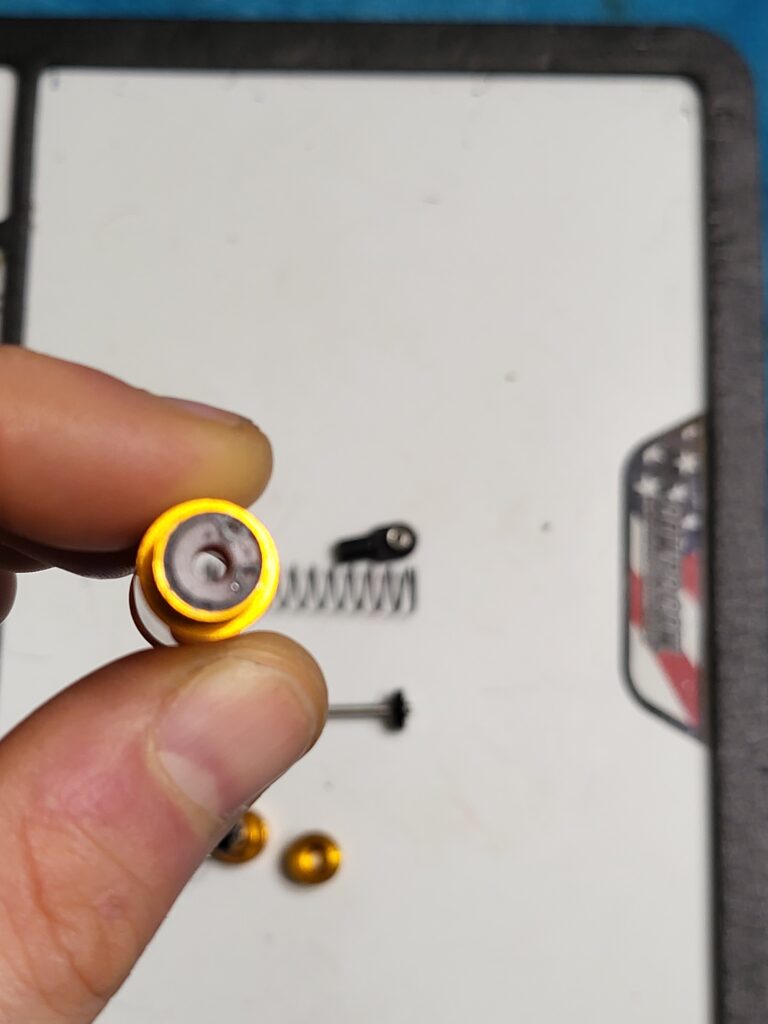
All that is left to do is to reassemble the shock. I like to start with the bladder and work my way down. Remove the white silicone bladder from the cap and replace it with the black Traxxas bladder, working it into place and seating it fully. If you’d like you can also replace the upper shock mount with a rod end of your choice and a short M3 flat head screw. The stock piece is help in with a self-tapper and can fail over time. This is not completely necessary but it can be beneficial as a preventative measure. Next, insert the shock shaft into the shock body from the bottom and slide the spring into the upper spring pocked. The shocks come with two spring options: a 1lb and a 2lb spring; I recommend the 1lb spring for most rigs but if you are running a Class 1 with a hard body and a ton of accessories you may want to try the 2lb. Once the spring is in place make room for the shock shaft piers to grip the shock shaft and rethread the lower spring cup and shock mount onto the shaft until it bottoms out. At this point the shock is ready to be bled and put into service. I use a 35wt oil in mine, however the OP prefers 40wt as it slows the suspension action down a bit, better suiting his driving style. Experiment with various viscosities in a similar range to find a setup that suits you and where you drive. Finally shown below is the Traxxas bladder installed in the cap, showing how far down the bladder needs to sit before it is seated.
After re-assembly and filling we are left with a shock that performs on par with dampers costing many times as much for a grand sum of around $20. These shocks can be ran upside down or right side up and are small enough diameter wise to stay out of the way of the tire when steering at extreme angles.. Links below show the shocks on Amazon, however check your favorite foreign parts sourse for shocks that look similar to these and you’ll be set. These shocks are availabe in various lengths; the units used in this article are 95mm long using the included upper mount.
Links:
Traxxas 2362: https://traxxas.com/2362-shock-rebuild-kit
Traxxas 2669 https://traxxas.com/2669-big-bore-shock-piston-head-set
CowRC Udder Butter: https://cowrc.com/udder-butter-8oz/